Getting Started
Welcome! This guide will help you install and set up the Mountea Dialogue System plugin in Unreal Engine. No advanced skills needed—just follow these easy steps.
1. Download the Plugin
From the Unreal Marketplace
- Open the Epic Games Launcher and sign in.
- Search for Mountea Dialogue System and add it to your engine version.
FAB Versions
Marketplace versions support the last three major engine releases.
From GitHub
- Go to GitHub Releases.
- Pick MounteaDialogueSystem (full source) or MounteaDialogueSystem_Binaries (pre-built, best for Blueprint-only projects).
- Download and unzip the one you want.
2. Install the Plugin
If You Used the Marketplace
The Epic Games Launcher will put everything in the right place for you—no extra steps required.
If You Used GitHub
Choose where to keep the plugin:
- Project-specific: Drag the plugin folder into your project’s
Plugins/folder. - Engine-wide: Drop it into
UnrealEngine/Engine/Plugins/so all your projects can use it.
I Don't Have Plugins Folder
If your project doesn’t have a Plugins folder yet, just create one.
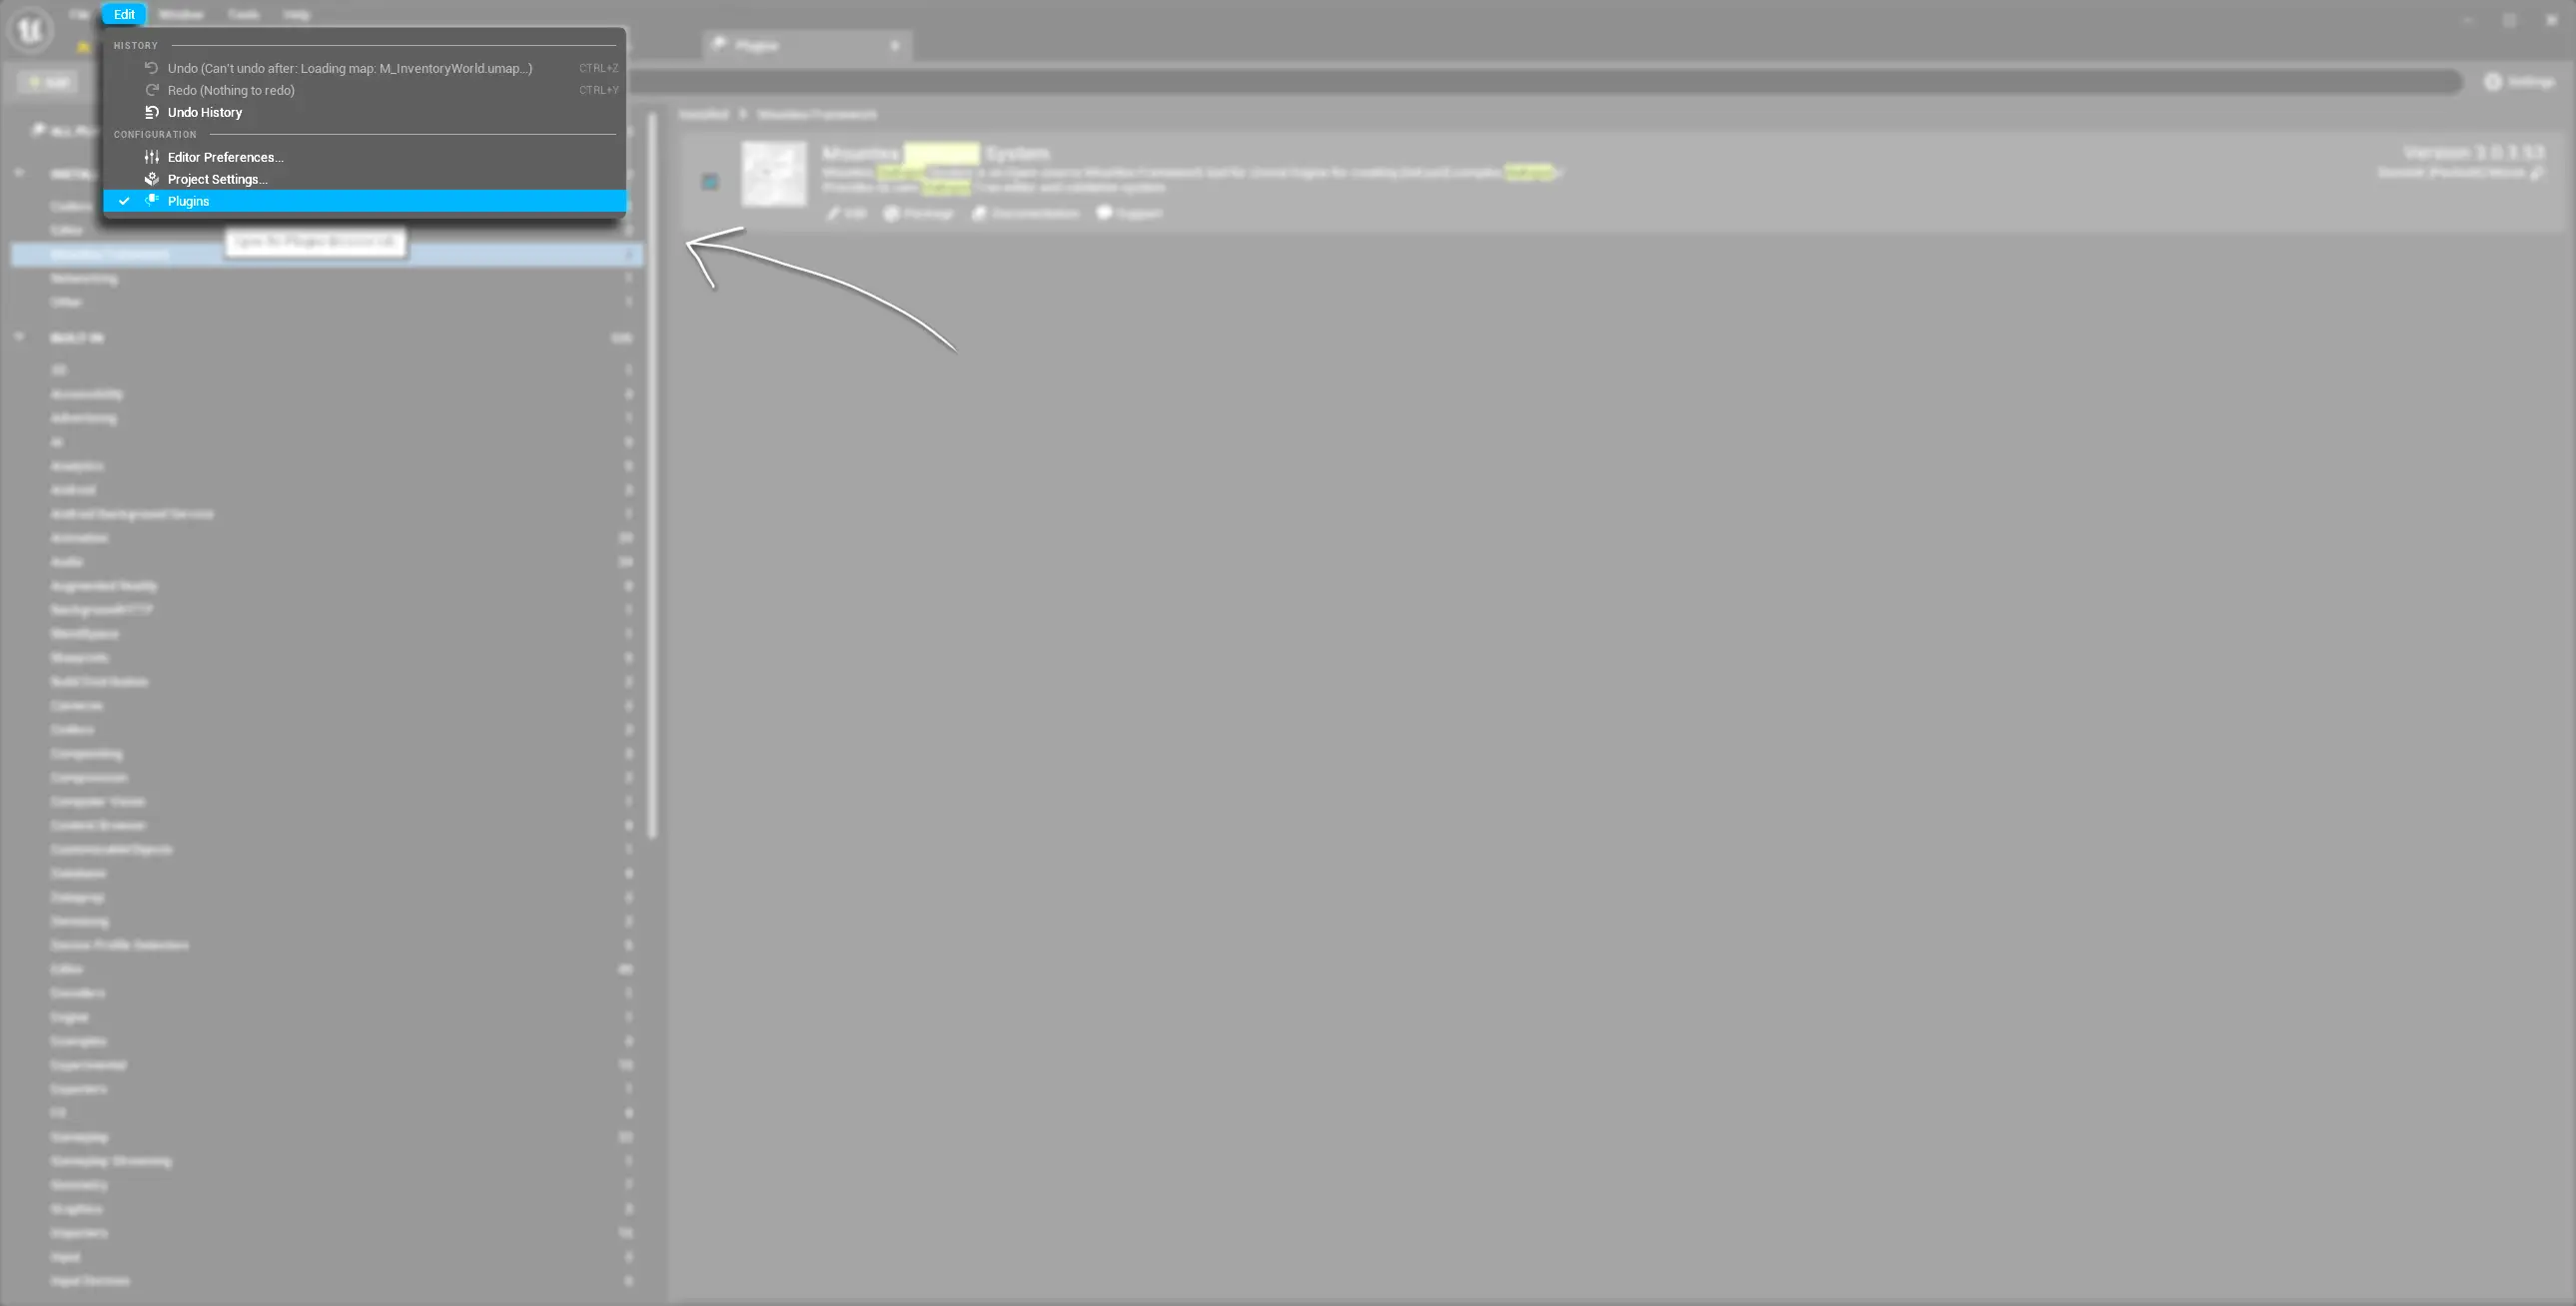
3. Turn On the Plugin
- In Unreal Engine, click Edit → Plugins.
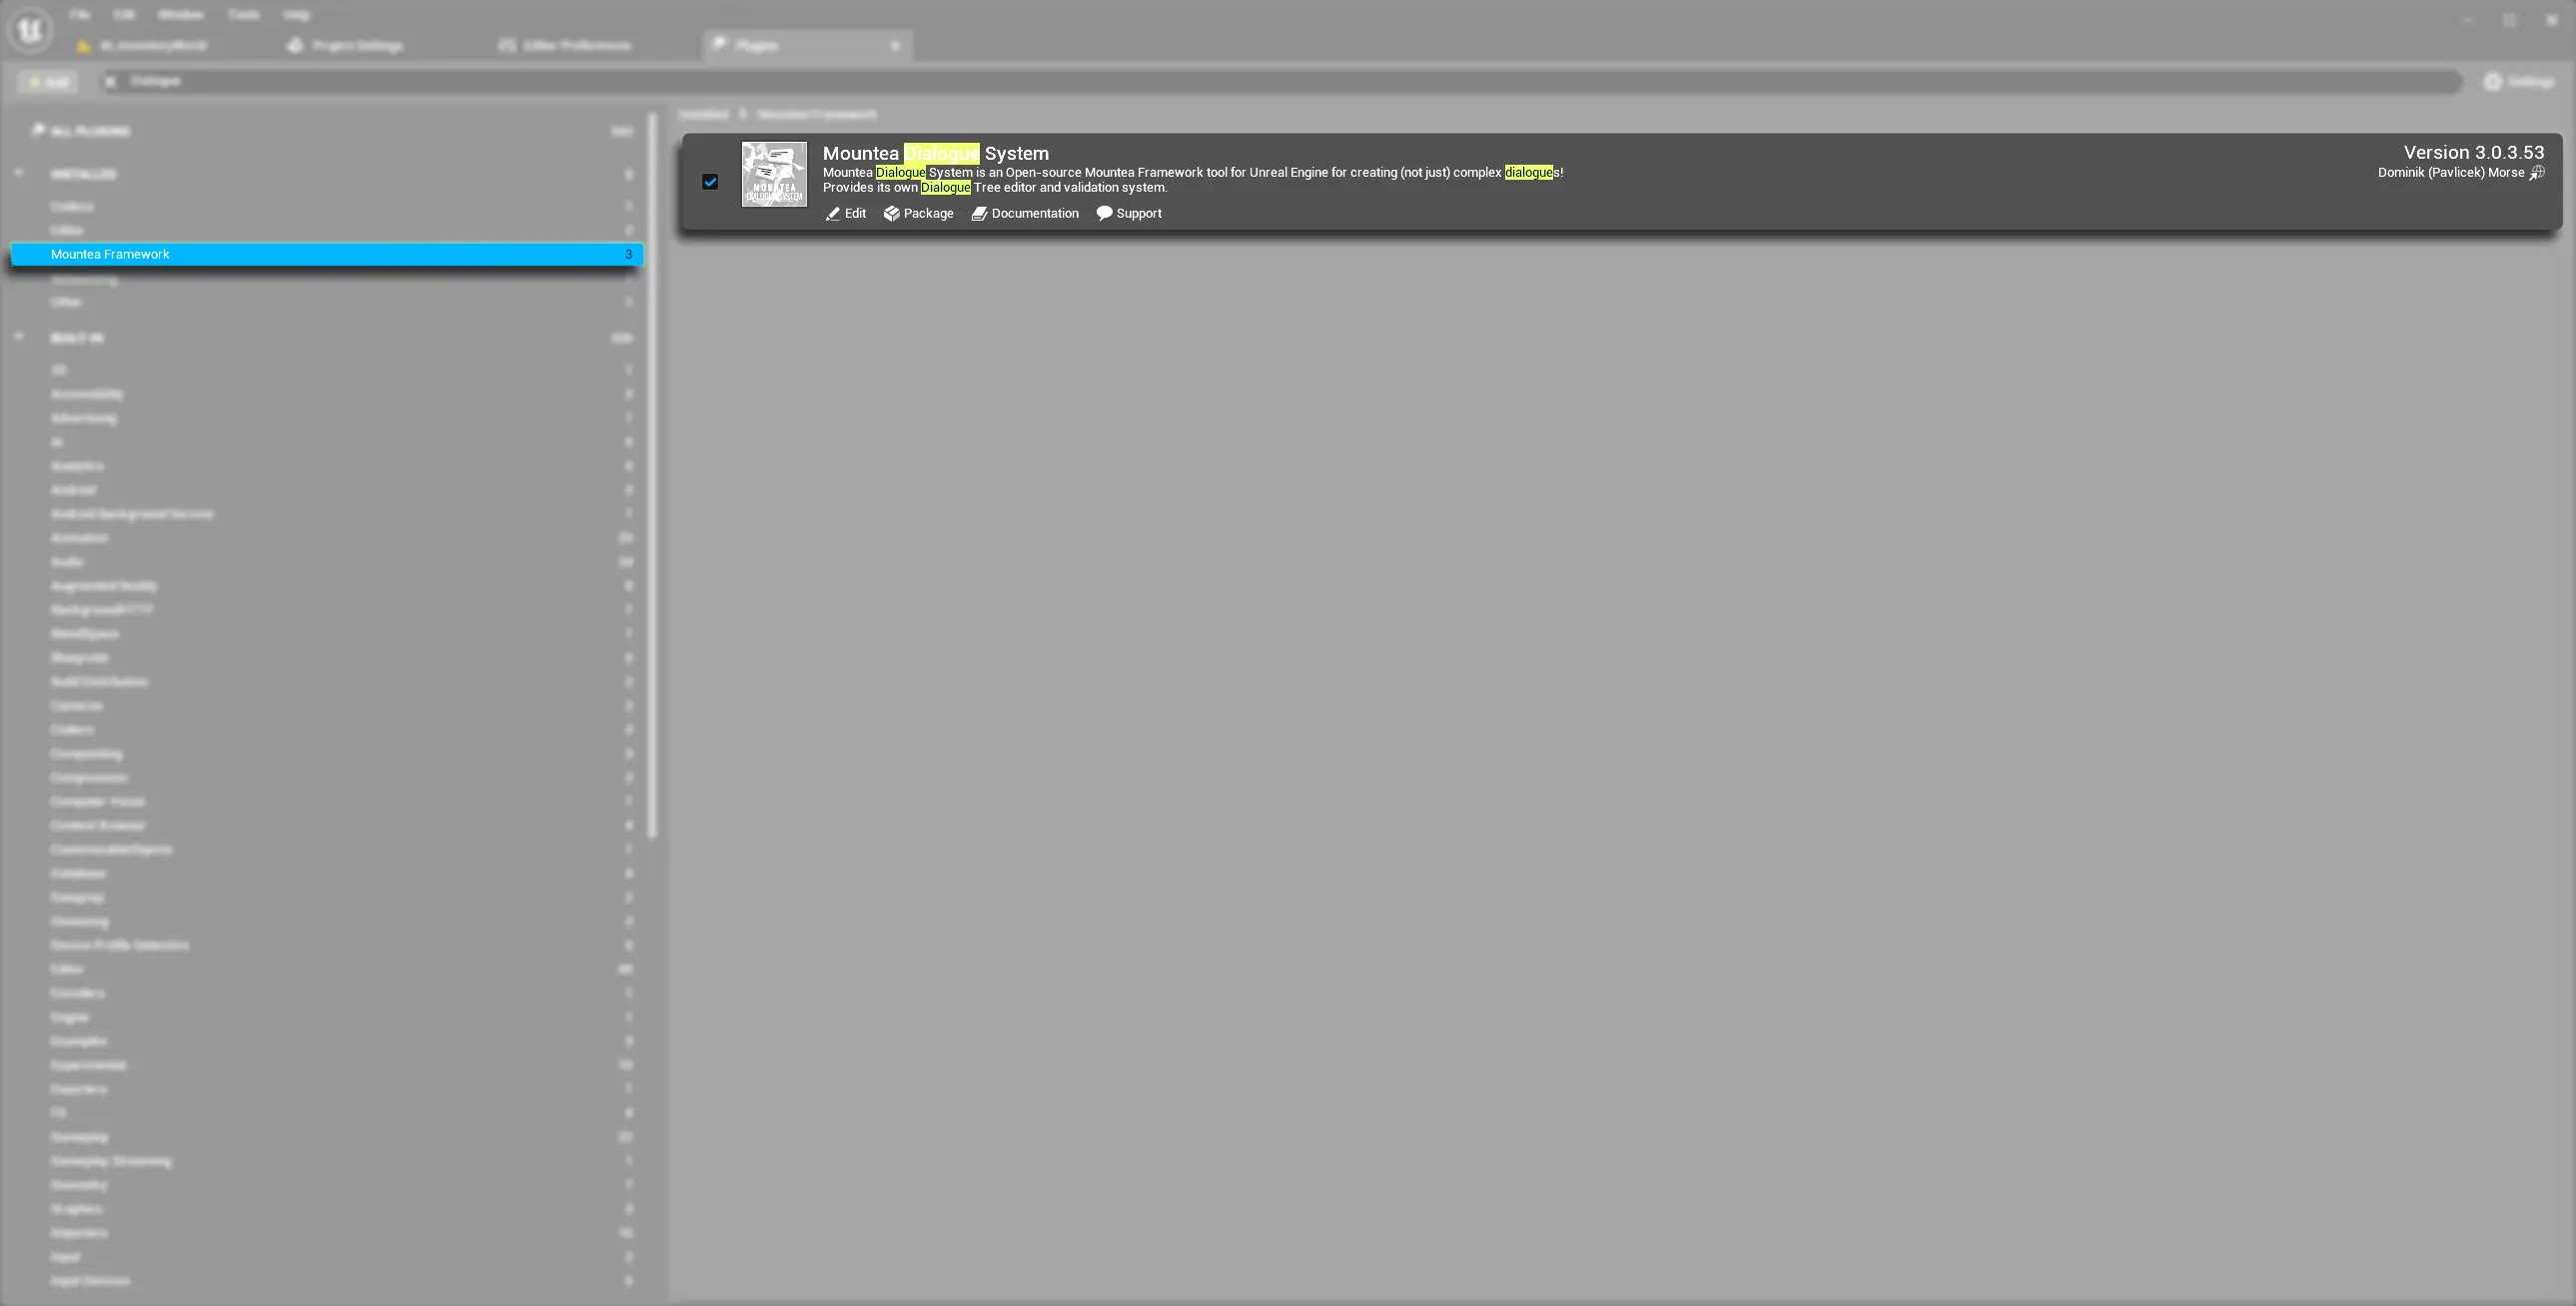
- Find Mountea Framework and turn on Mountea Dialogue System.
- Restart the Editor when prompted.
After installing, you’ll see a popup with release notes and links.
Internet Required
The welcome popup requires an internet connection to load changelog details and helpful links.

4. Verify It’s Working
- You should see the Toolbar menu Mountea Dialogue System.
- Open Add Component on any Actor and search for Mountea Dialogue — you should see options.
- In the Content Browser, under
Plugins/MounteaDialogueSystem/Content, you can explore example assets.
If both are visible, you’re all set!
Plugin Doesn't Work
Plugin Not Visible
- Make sure the Mountea Dialogue System plugin is enabled under Edit → Plugins.
- Verify it matches your Unreal Engine version.
Packaging Issues (Blueprint Only)
- For Blueprint-only projects, create a dummy C++ class: File → New C++ Class → None.
- Or use the pre-built Binaries version downloaded from GitHub.
Source Version Setup
- Ensure you have Visual Studio (Windows) or Xcode (macOS) installed.
- Rebuild the plugin from source via your IDE.