Crafting Your First Dialogue
A step‑by‑step guide to creating and testing your first dialogue tree with the Mountea Dialogue System. This chapter covers topics of creation, validation and orientation with Mountea Dialogue Tree assets and its properties.
1. Introduction
What You’ll Learn
- Creating a Dialogue Tree asset
- Navigating the Dialogue Editor
- Adding and connecting Nodes
- Binding Data Tables for text & audio
- Using Auto‑Arrange and Validate tools
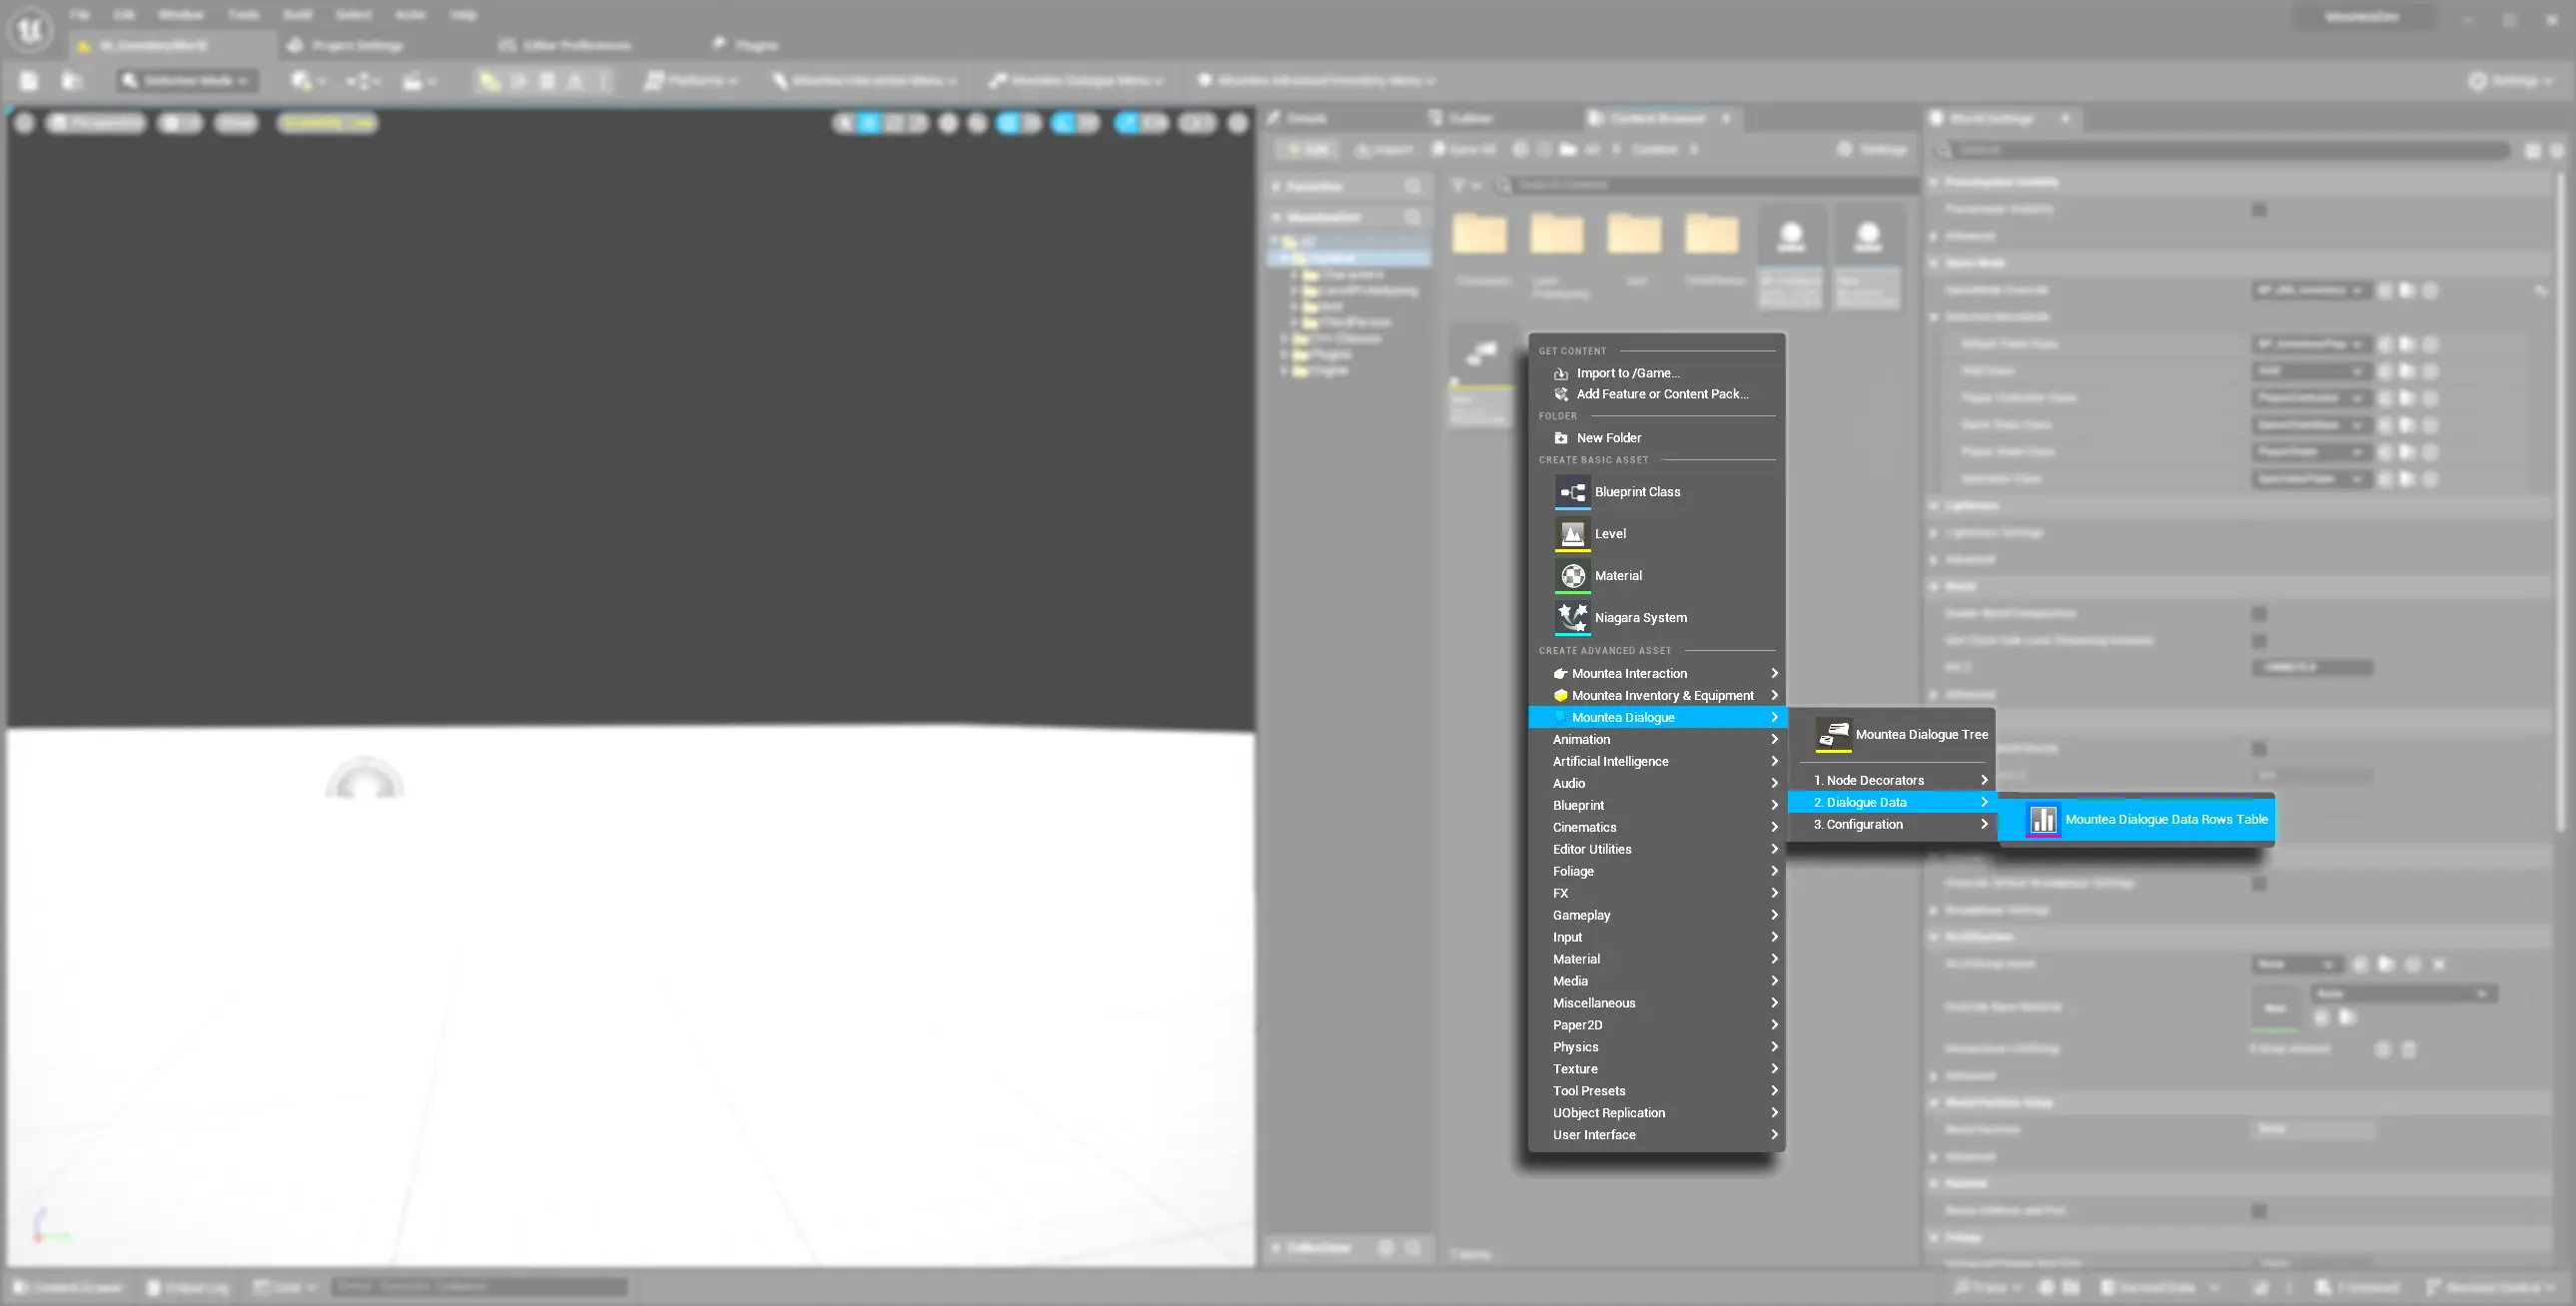
2. Create a Dialogue Tree Asset
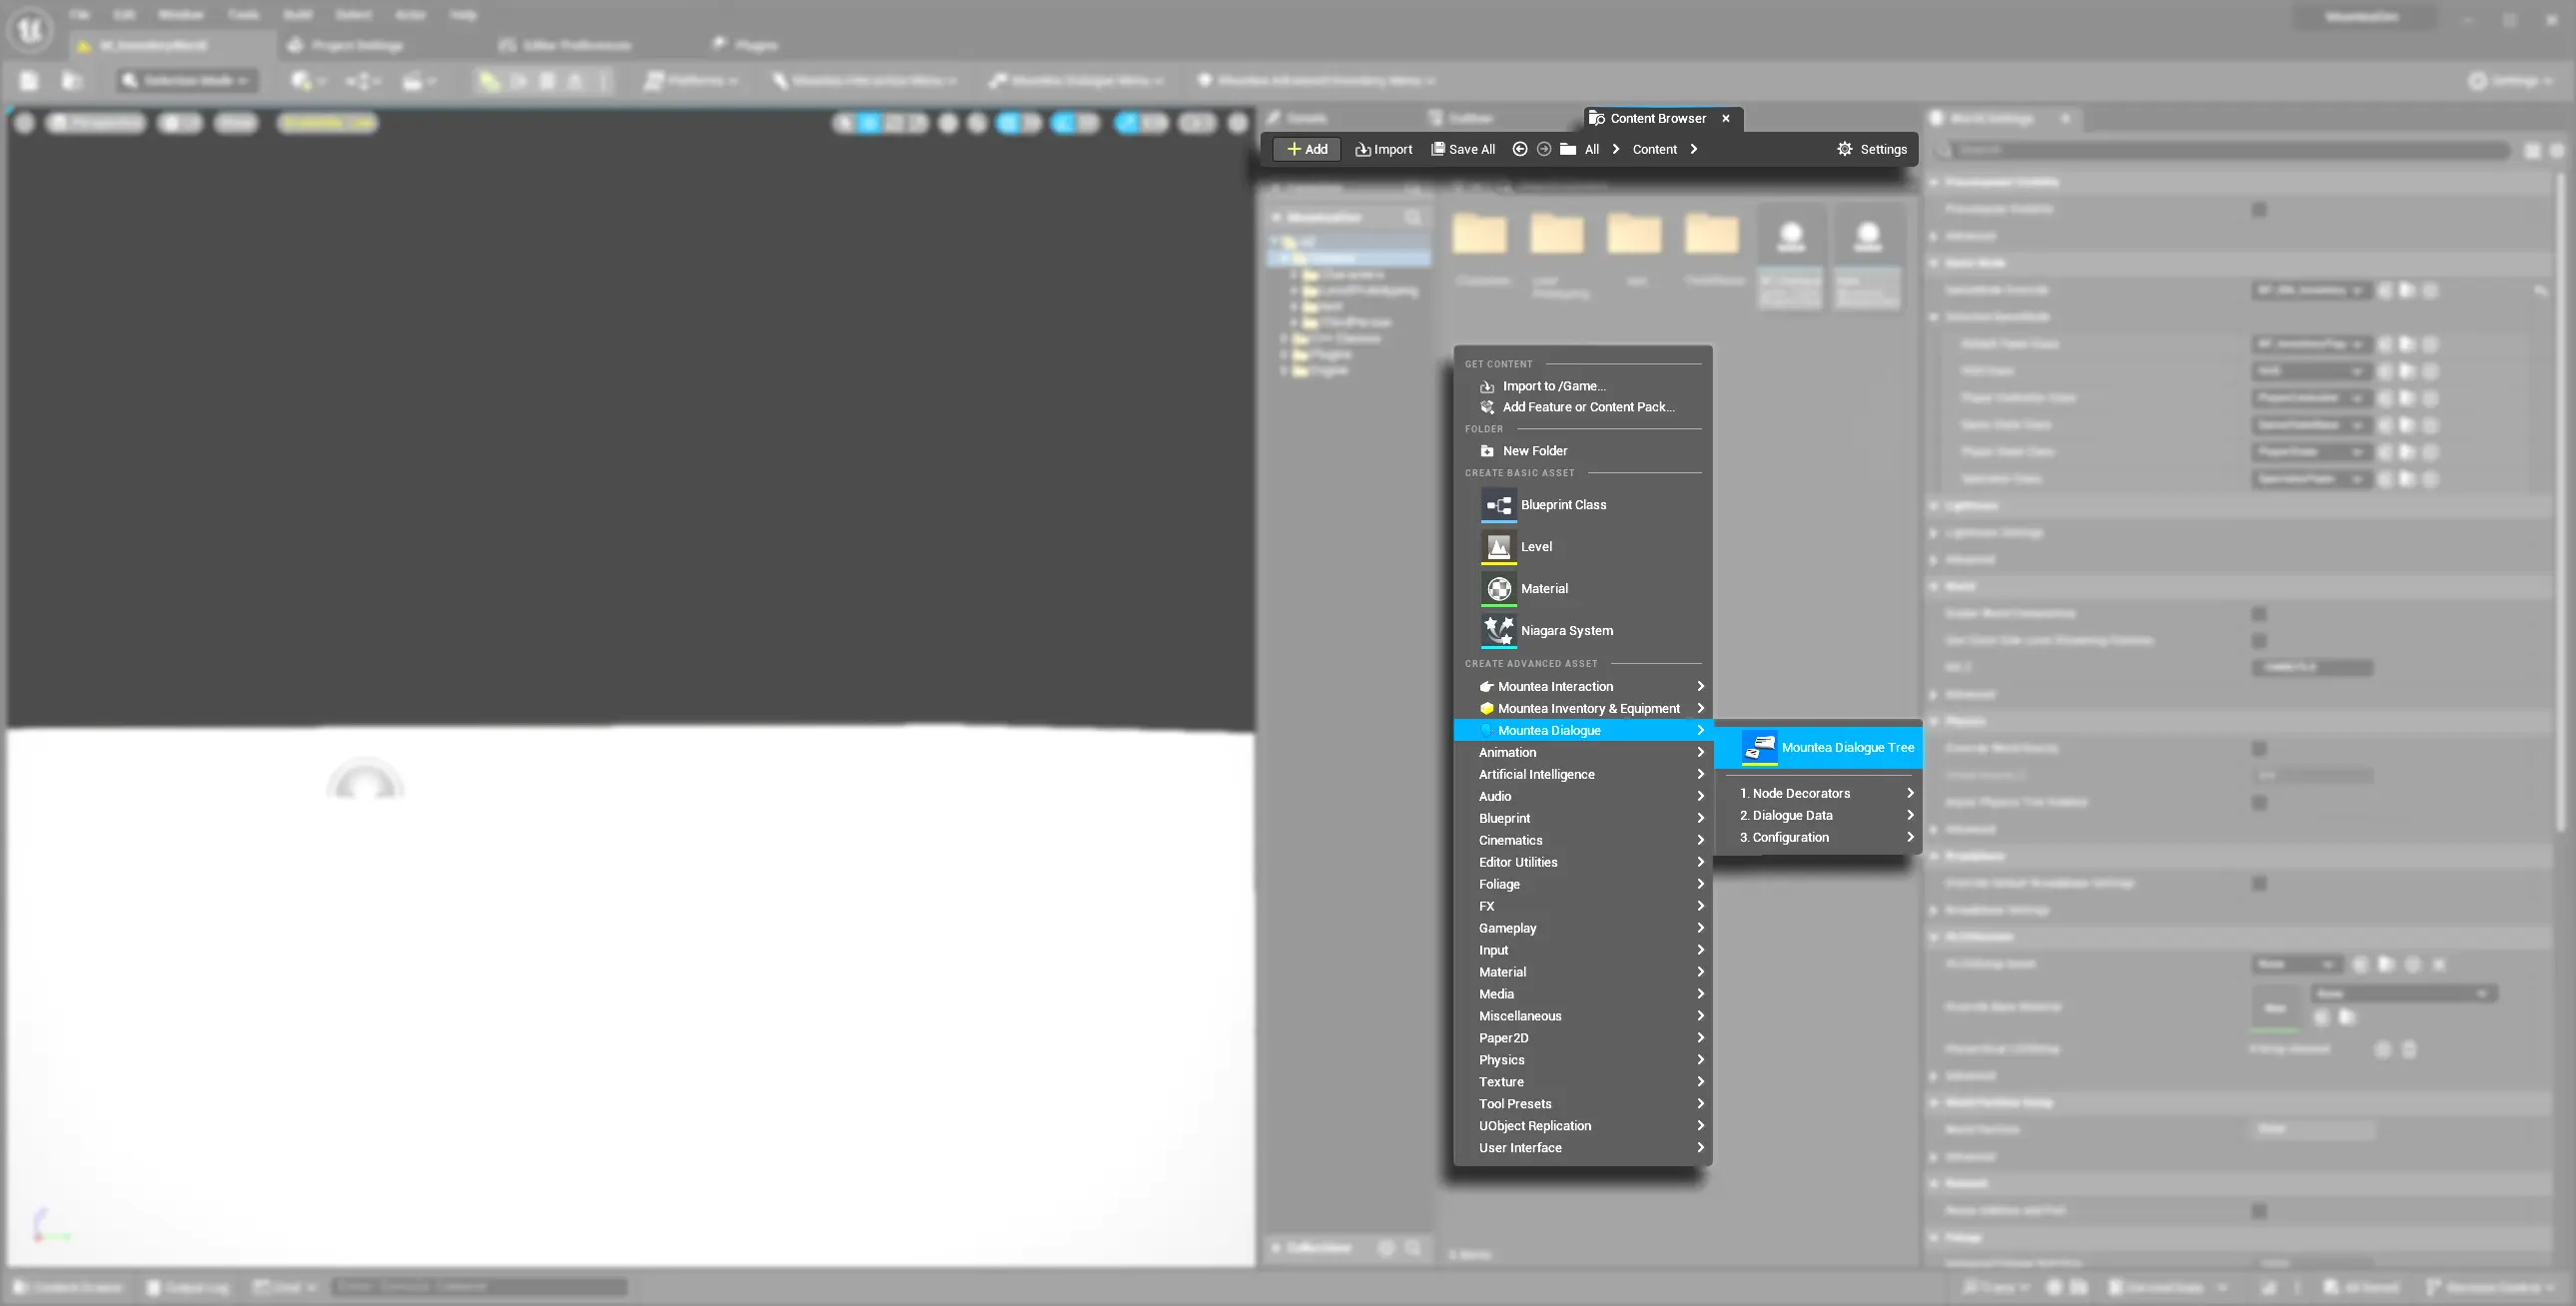
- In the Content Browser, right‑click in your desired folder.
- Choose Miscellaneous → Mountea → Dialogue Tree.
- Name it (e.g.
DT_FirstConversation).
Tip
Dialogue Trees appear under 🗣️ Mountea Dialogue System in the right‑click menu—no need to hunt through submenus.
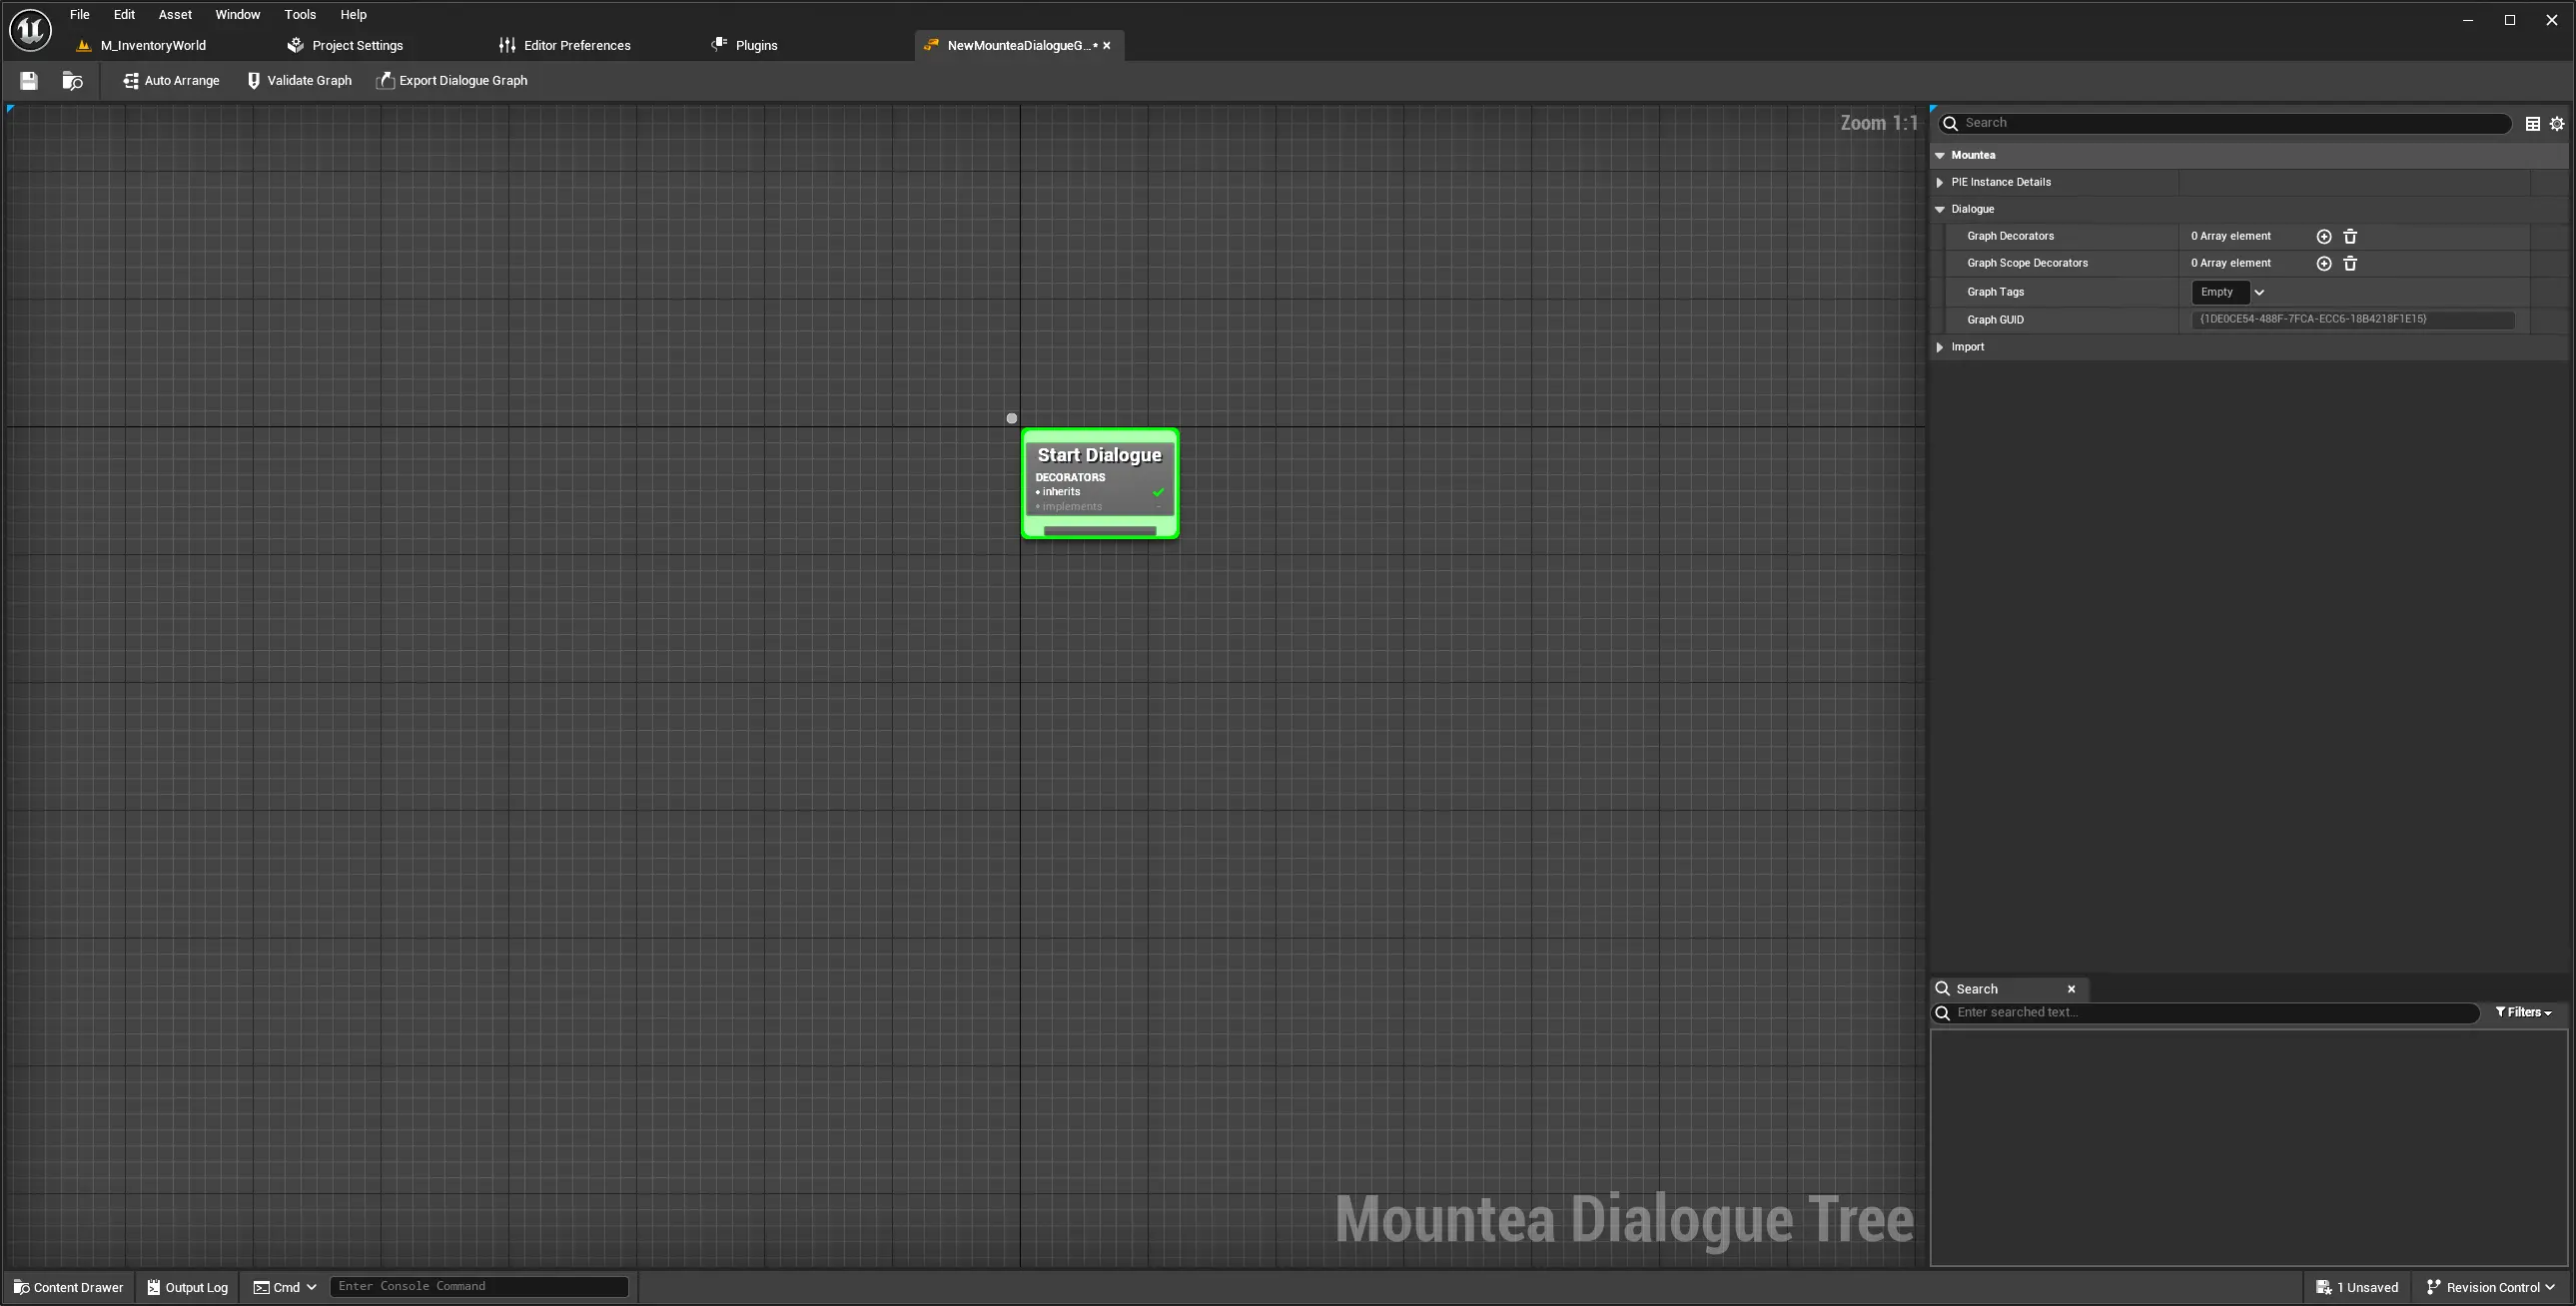
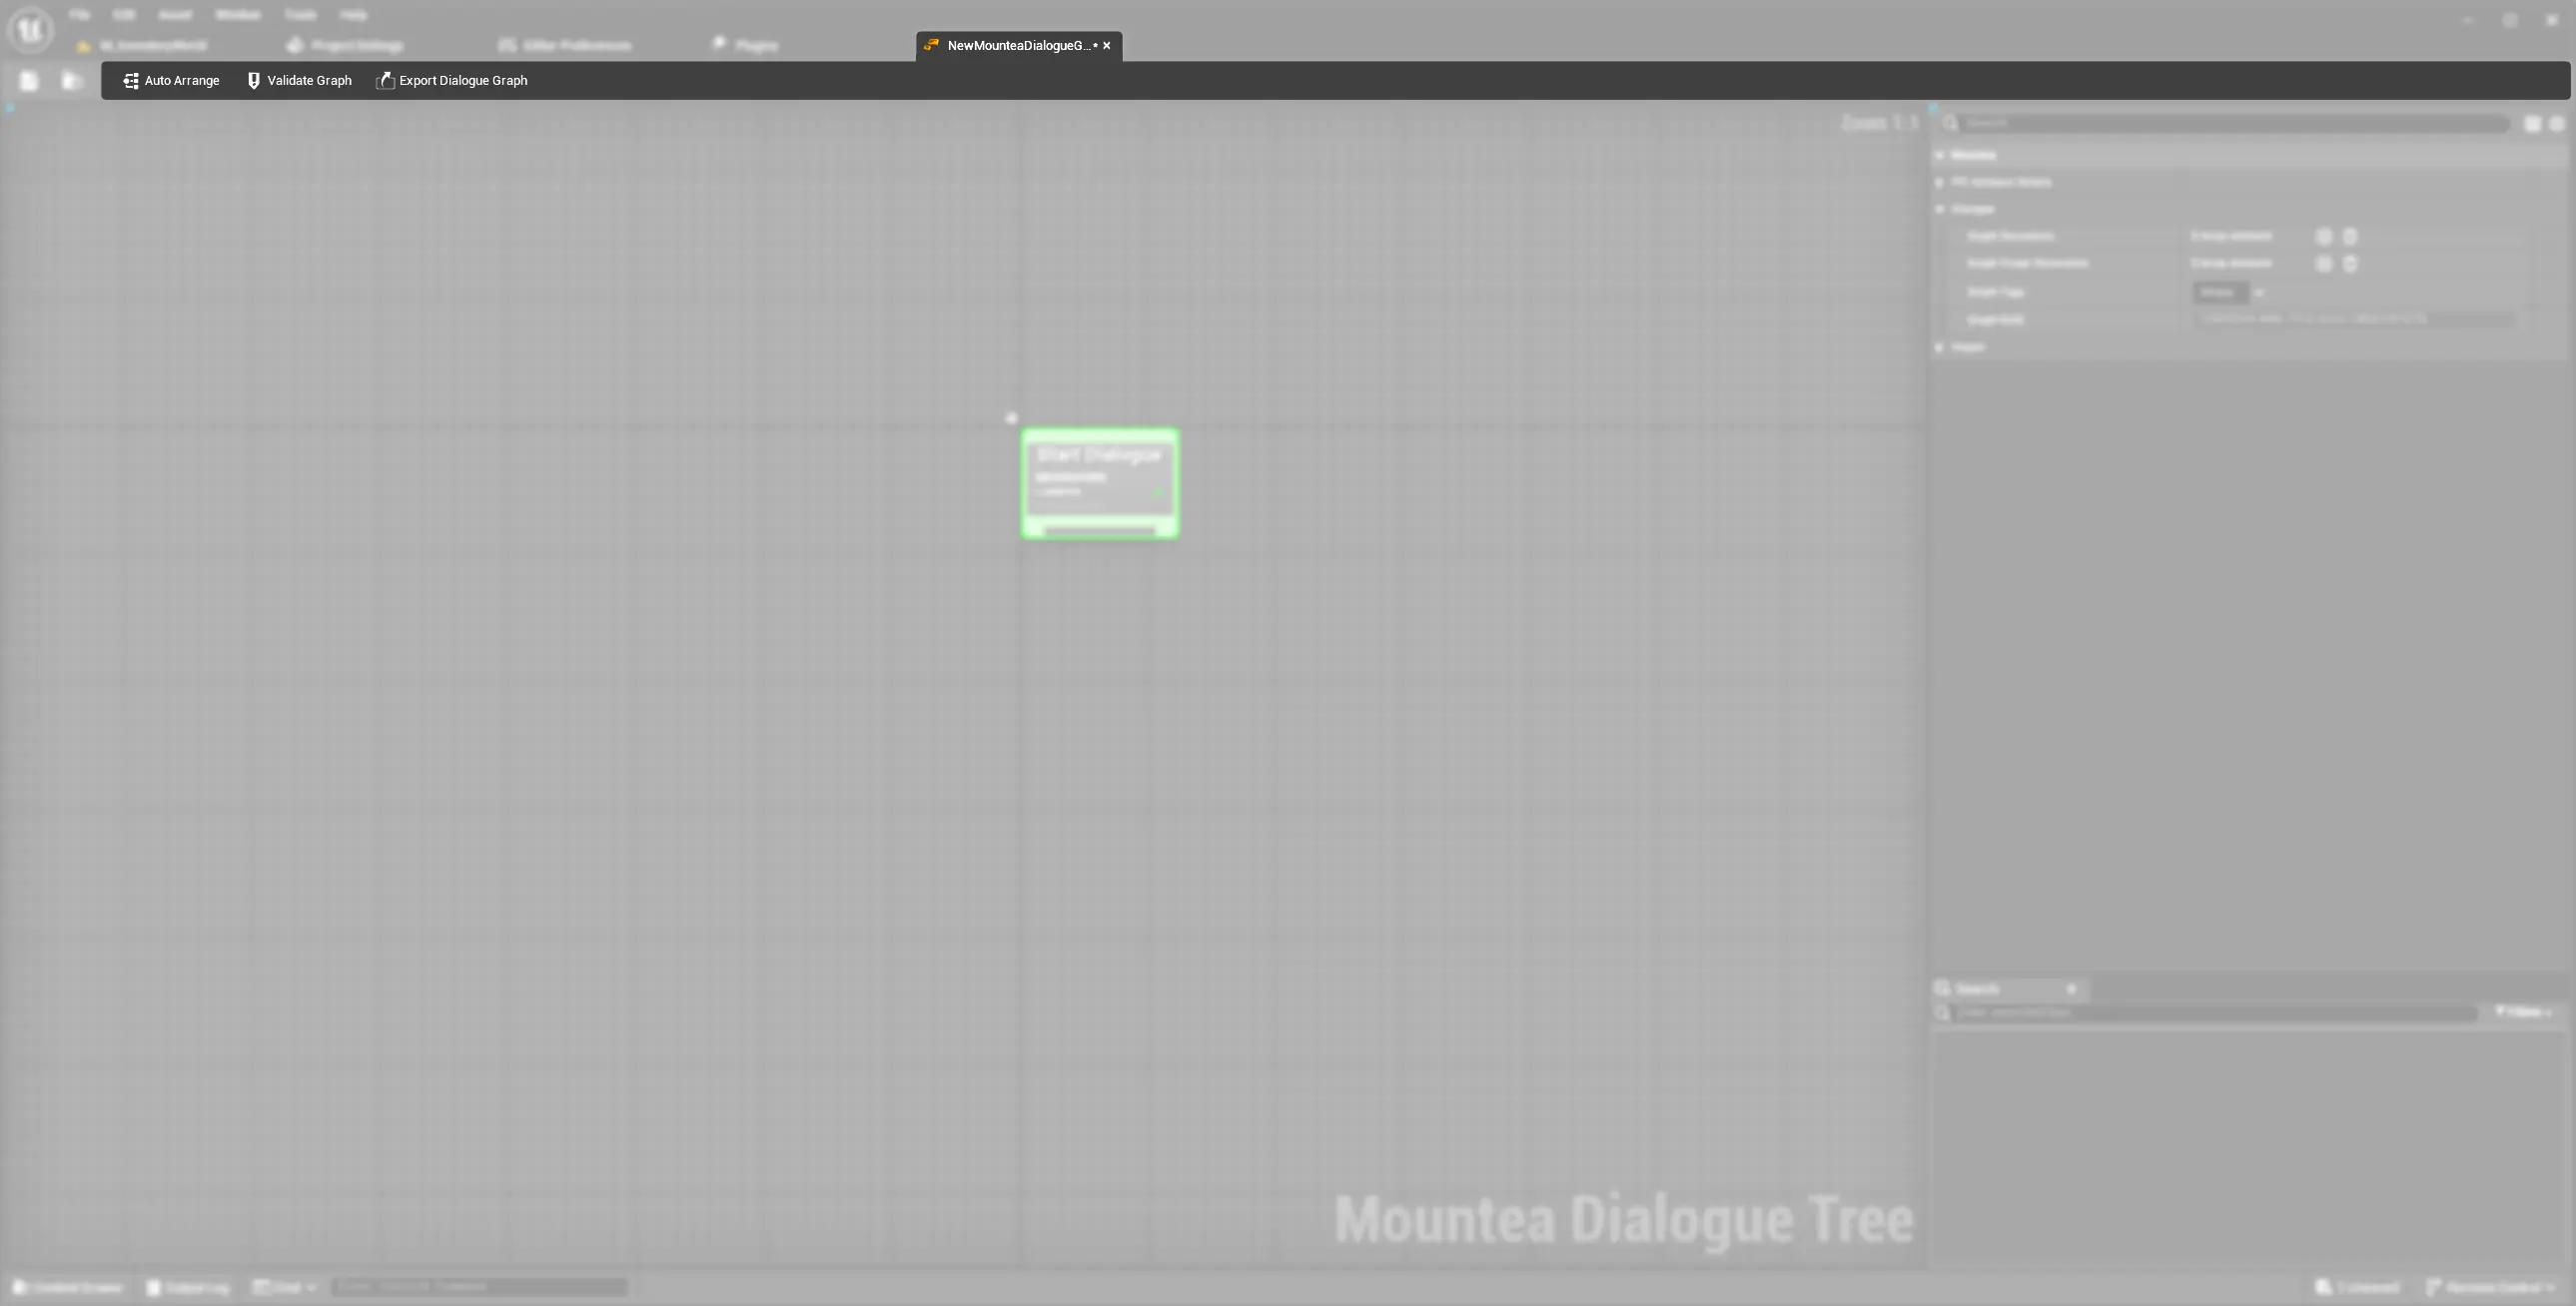
3. Open & Explore the Dialogue Editor
- Double‑click your new
DT_FirstConversation. - You’ll see the Start Node fixed at the top-left—this is the immutable entry point of your conversation.
- Toolbard shows a list of actions-those will be relevant later.
- Right side contains Details panel with properties of the Dialogue Tree itself
- You can change Tree Decorators (explained later)
- You can change Tree gameplay tags
4. Add and Connect Nodes
4.1. Node Types
In order to understand what Dialogue Tree actually is and how does it work you must understand what Dialogue Nodes are.
Dialogue Nodes are definitions of certain points in the Dialogue Flow. Each Node holds certain data and has different behaviour baked into it.
| Node Type | Node Description | Node Details |
|---|---|---|
| Start Node |
|
|
| Answer Node |
|
|
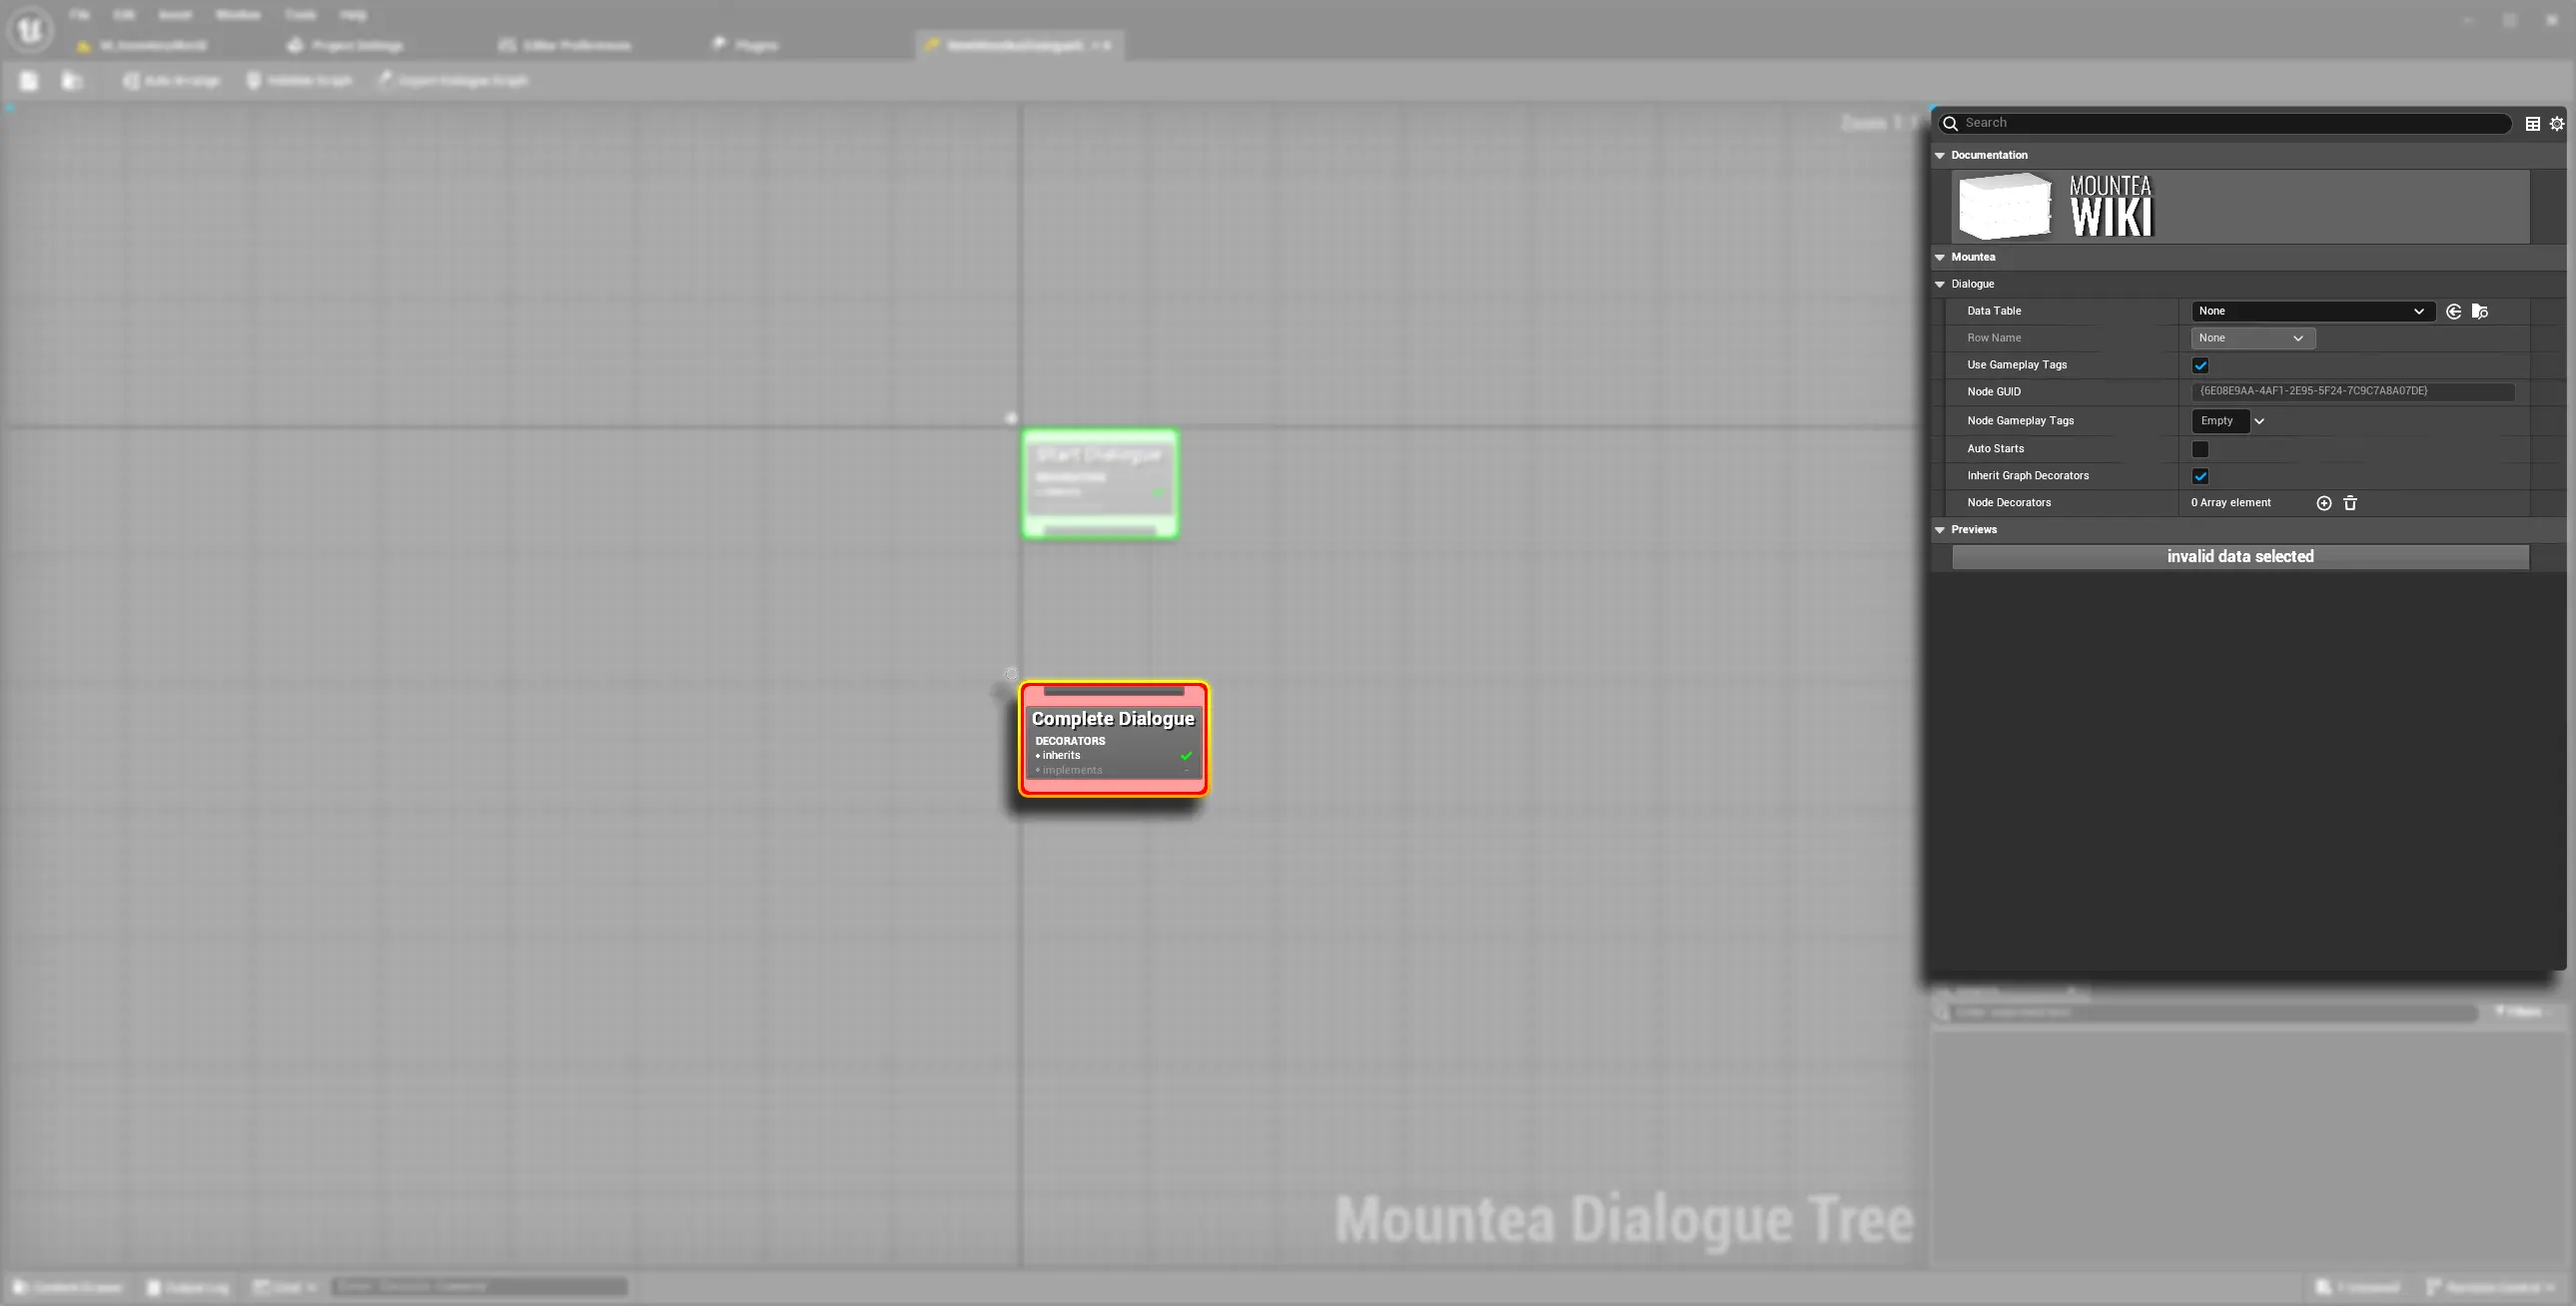
| Complete Dialogue Node |
|
|
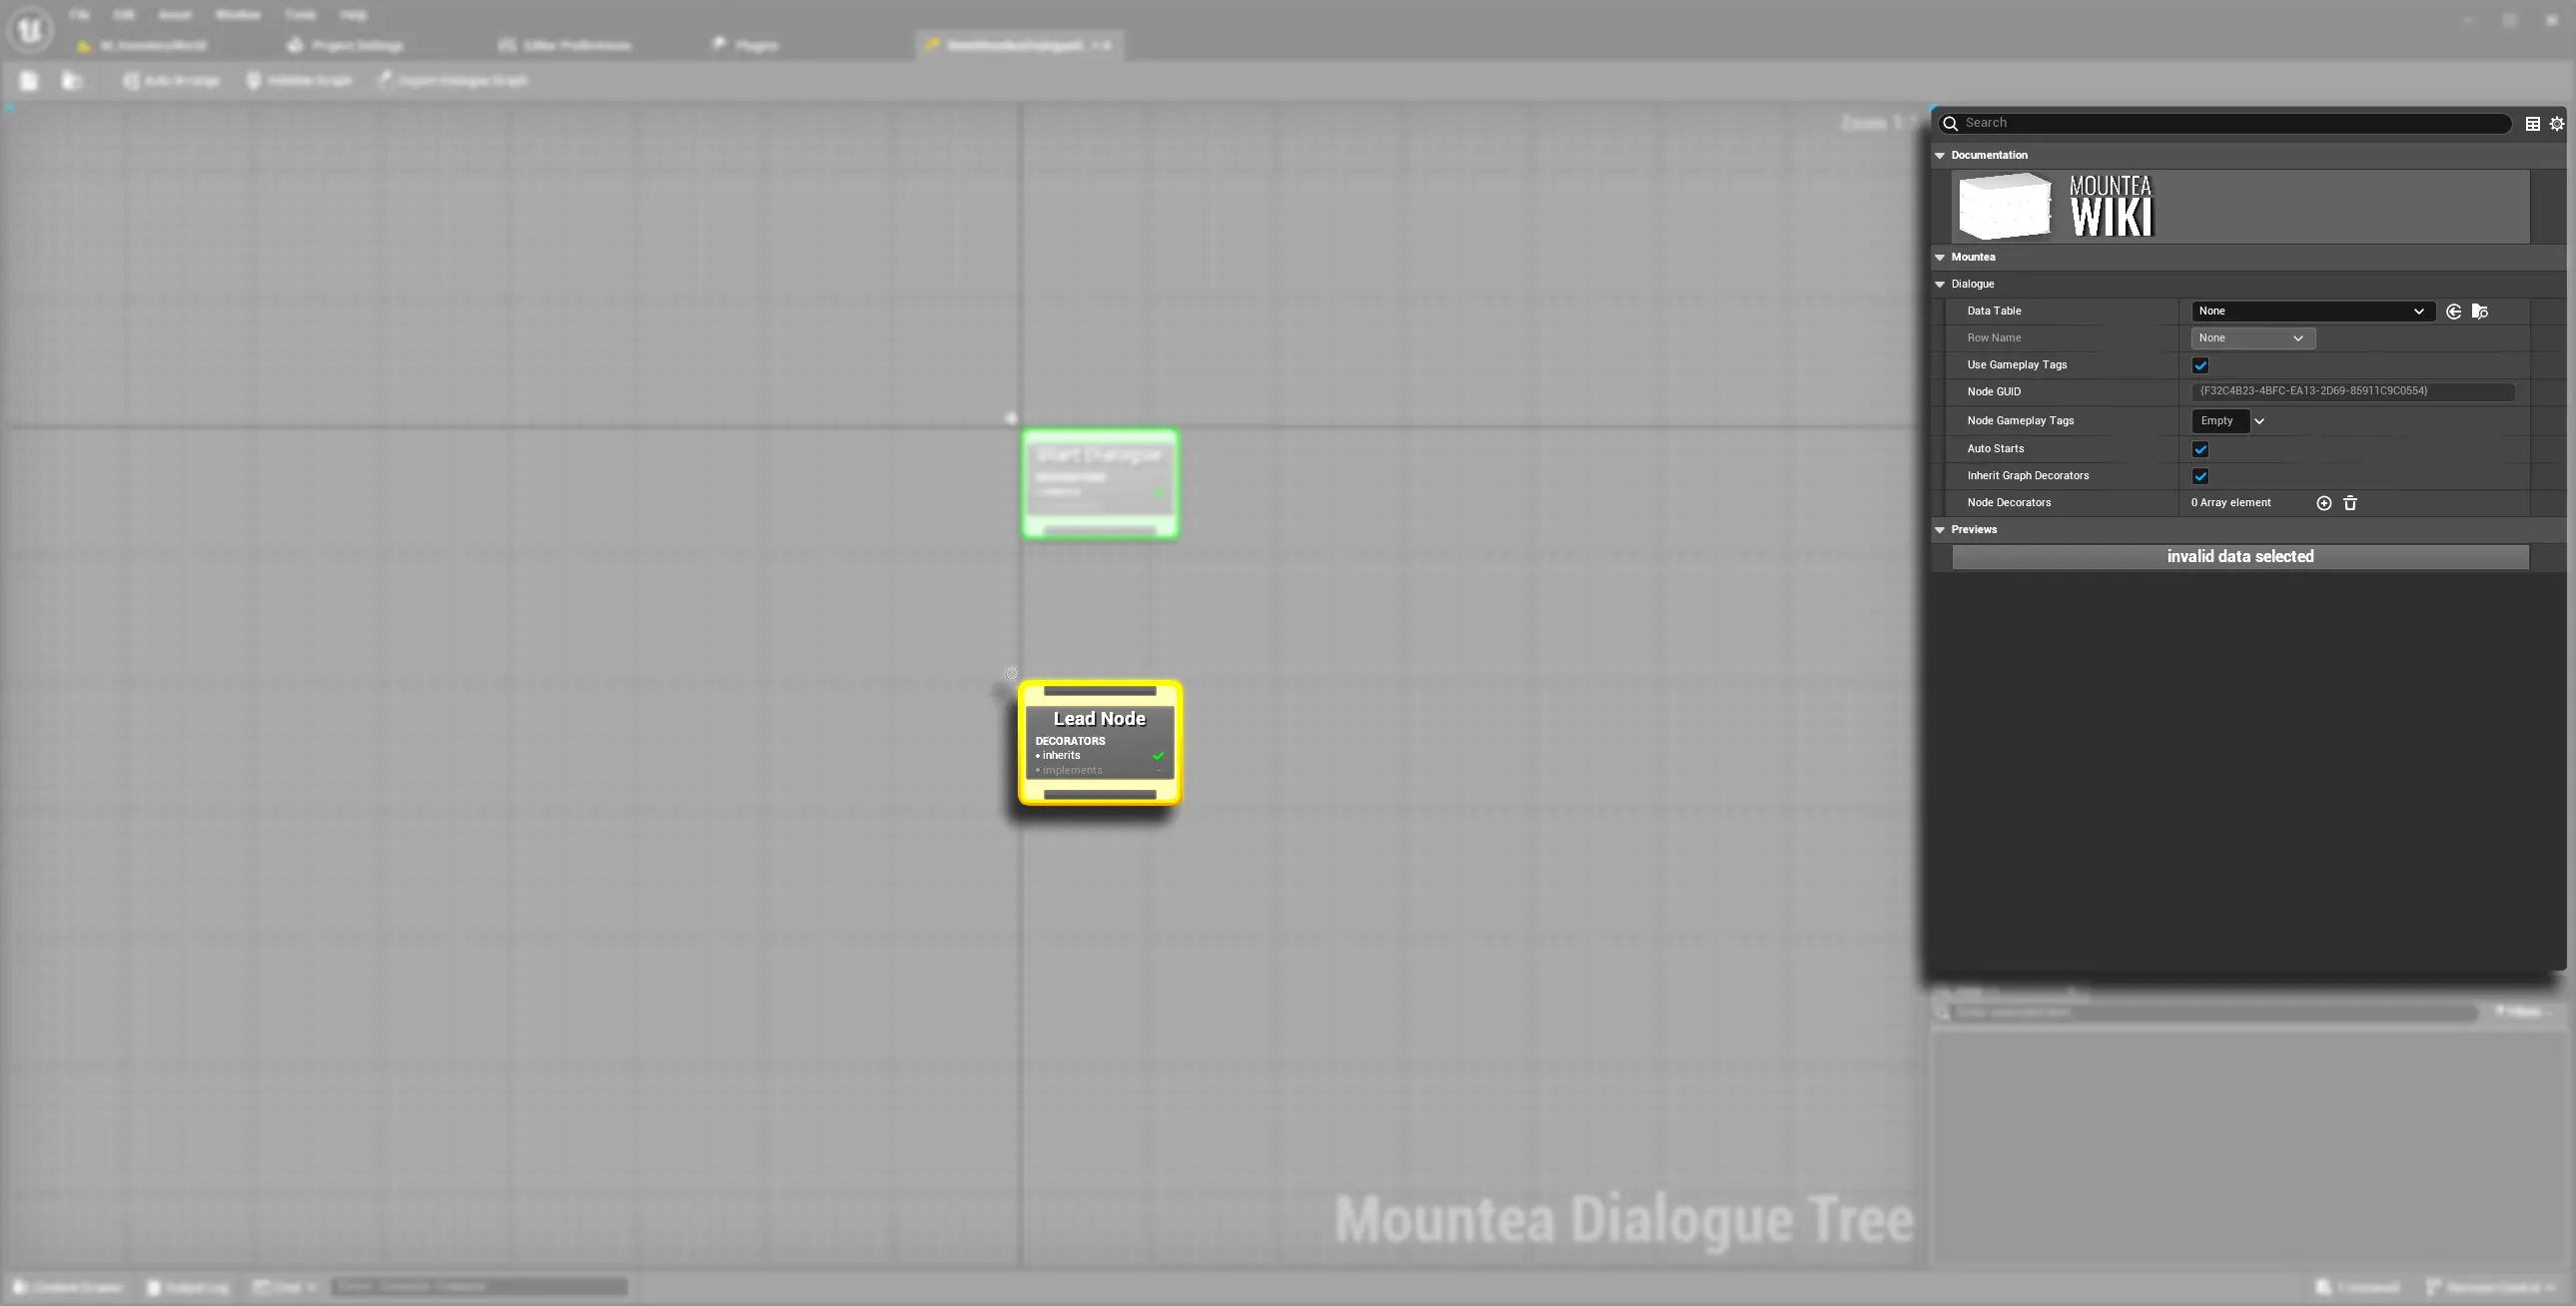
| Lead Node |
|
|
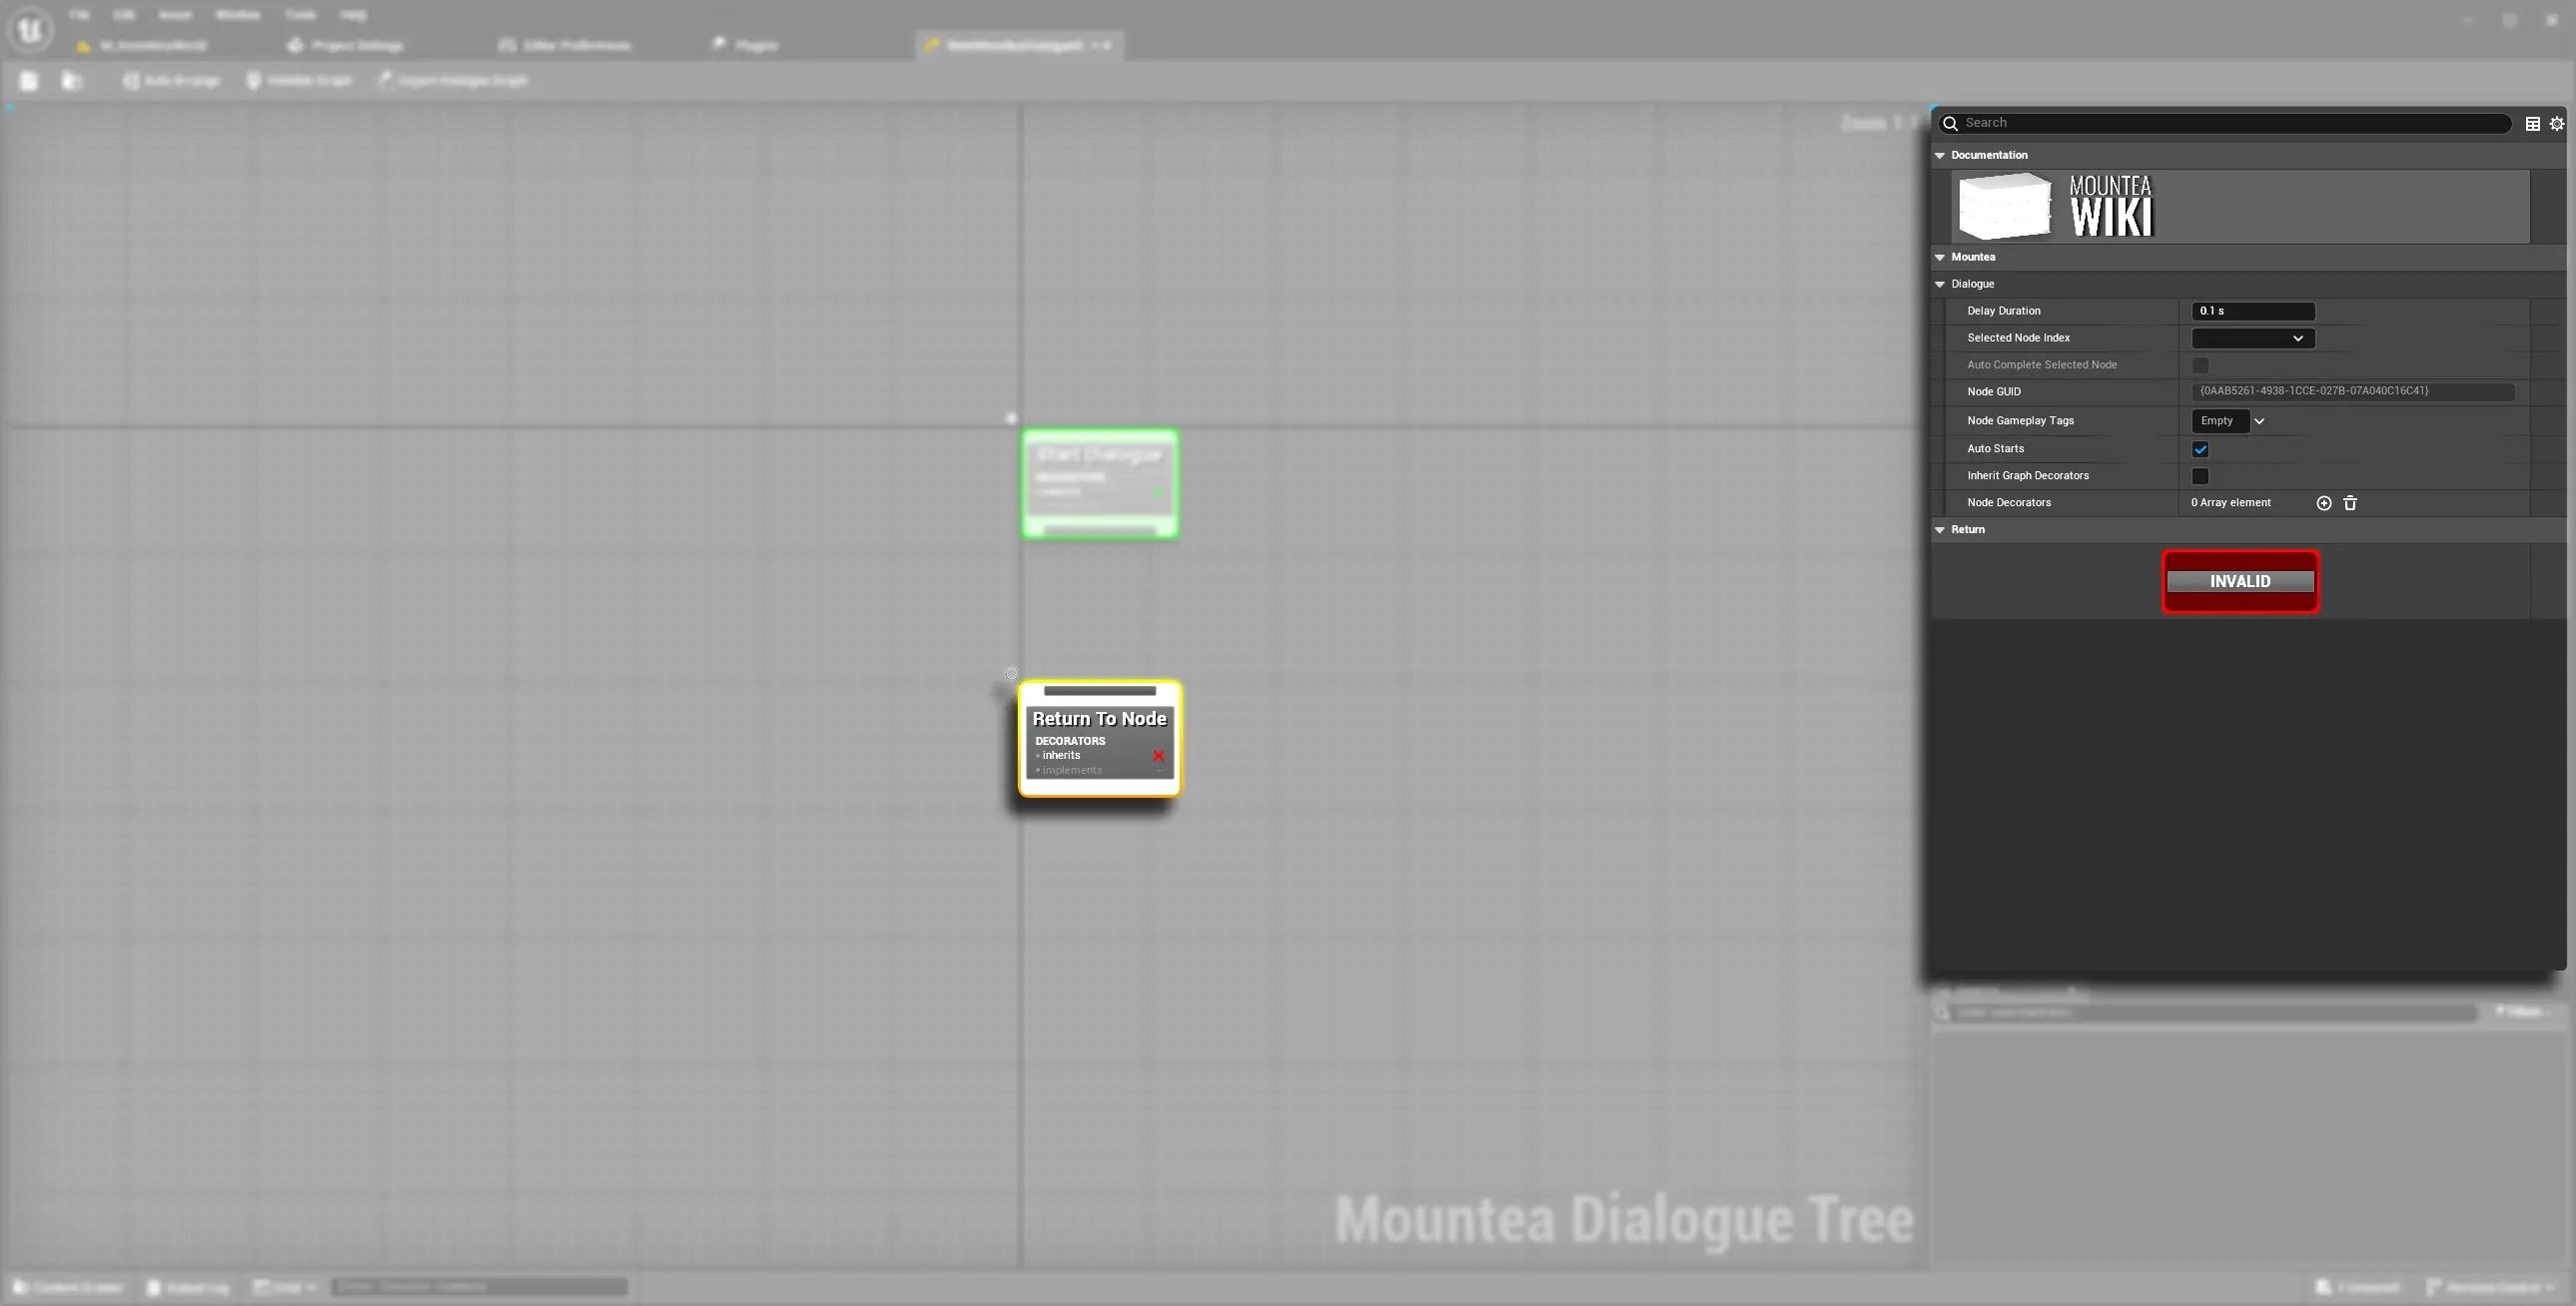
| Return To Node |
|
|

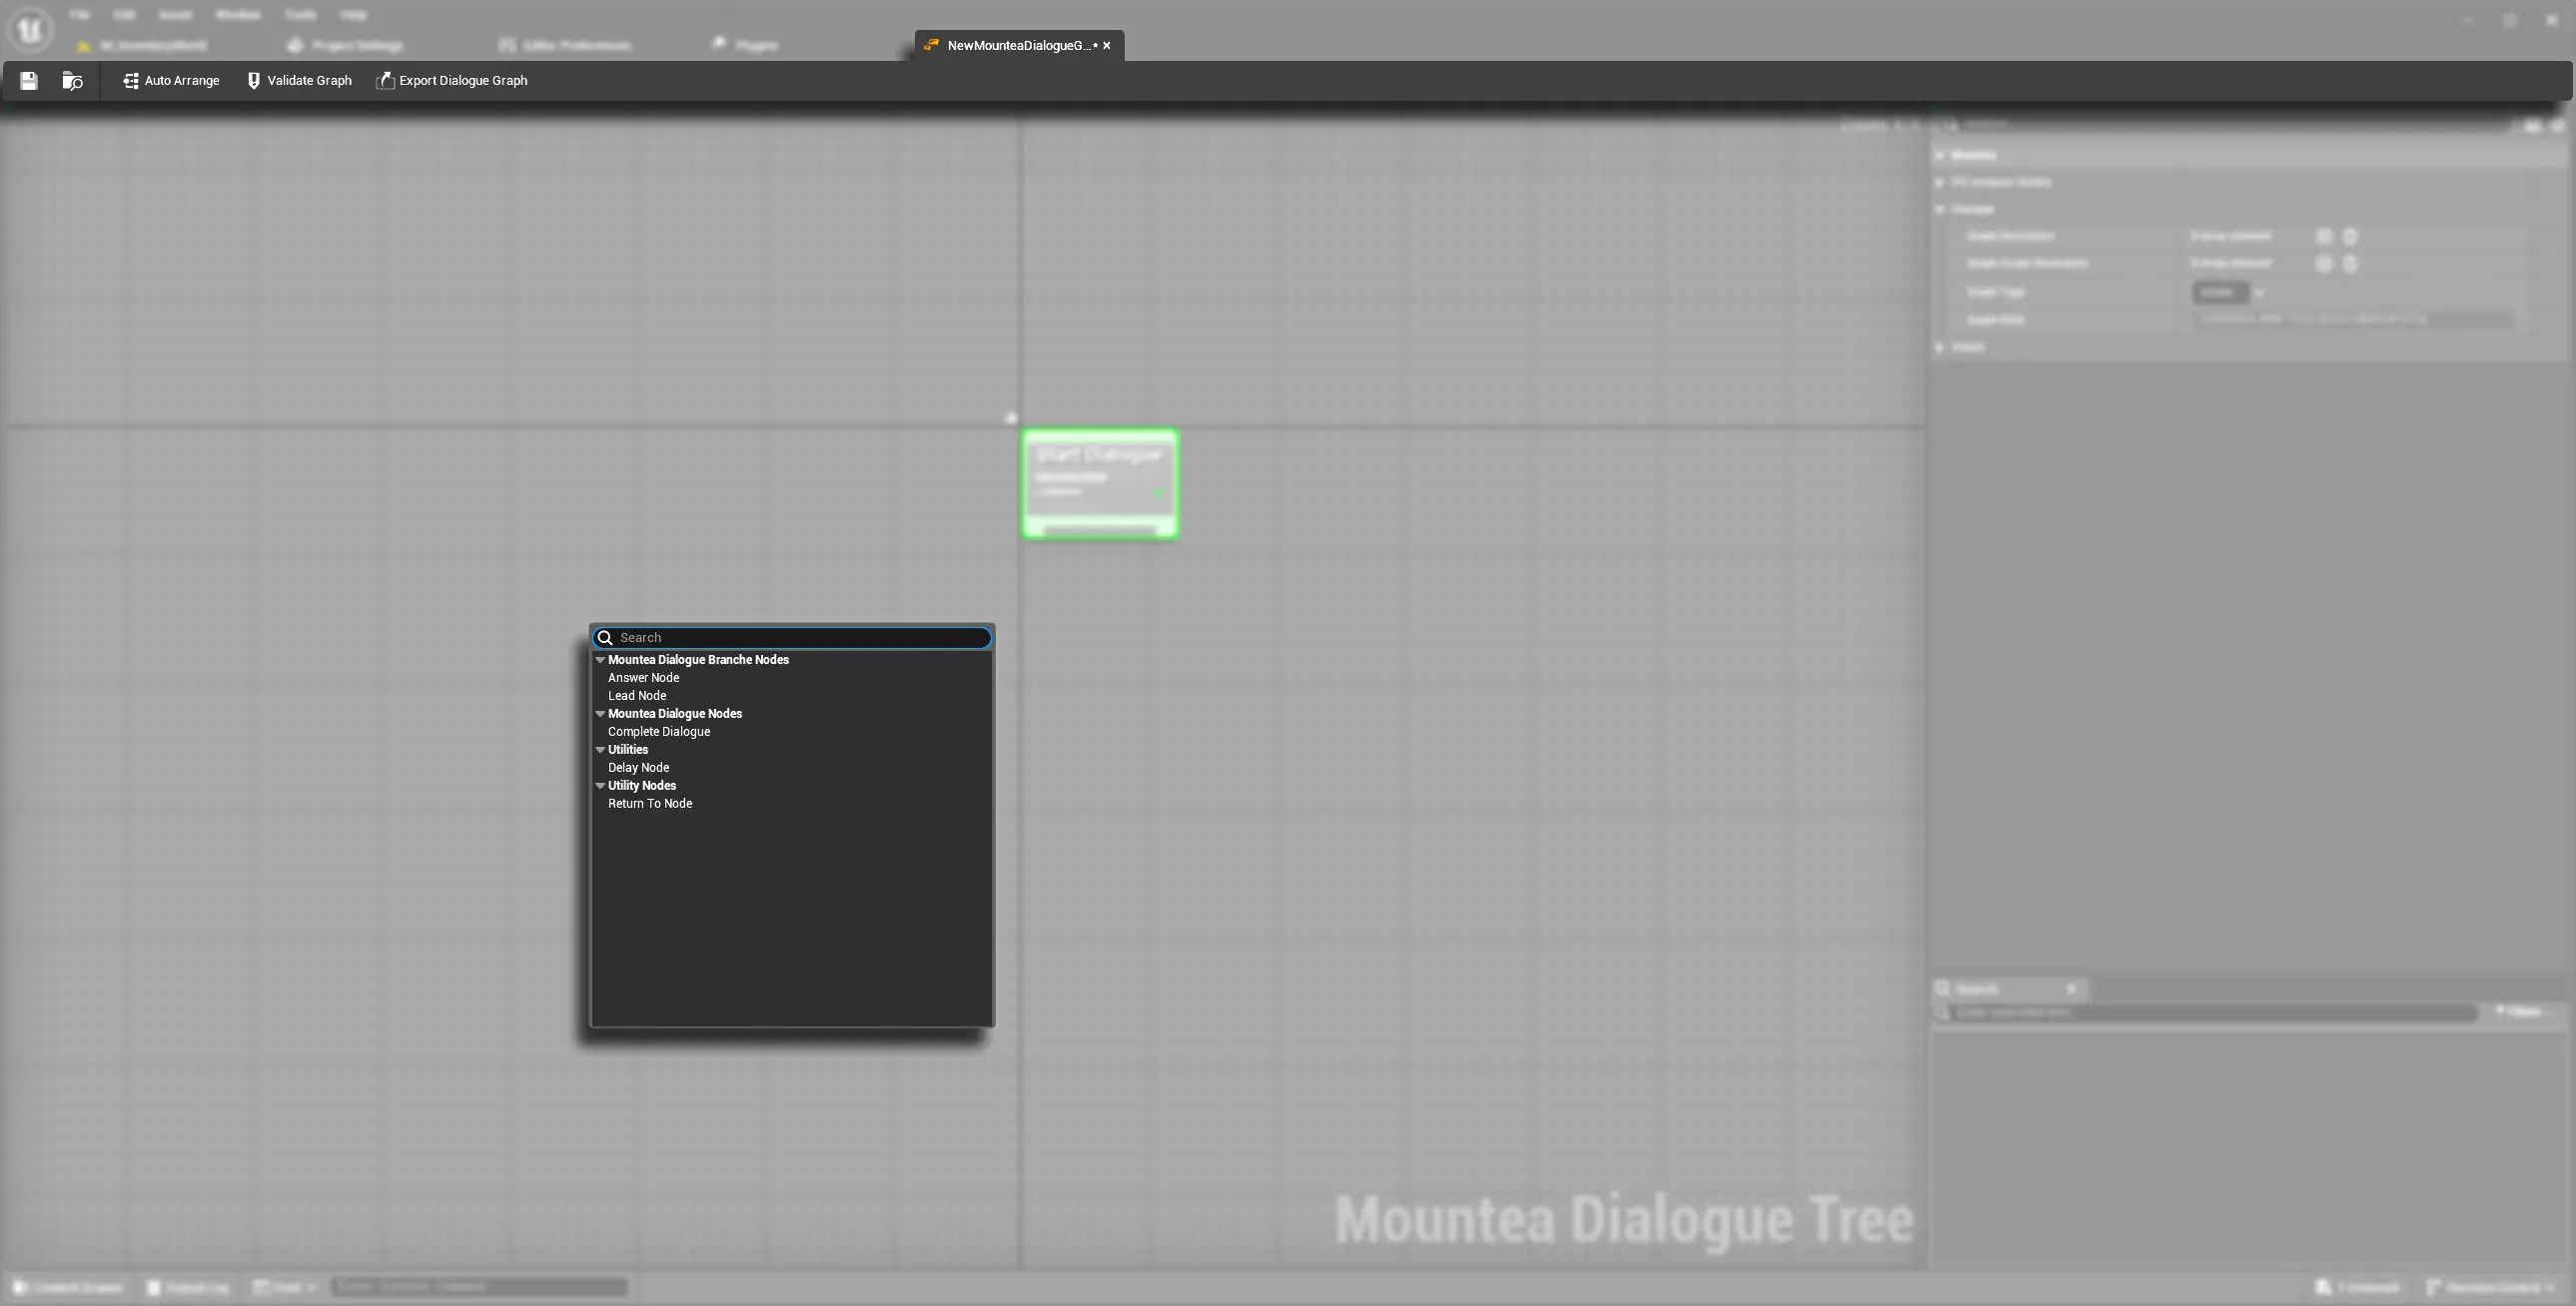
4.2. Adding Nodes
- Right‑click on the canvas or on a node’s output pin.
- Select from Lead, Answer, Complete, etc.
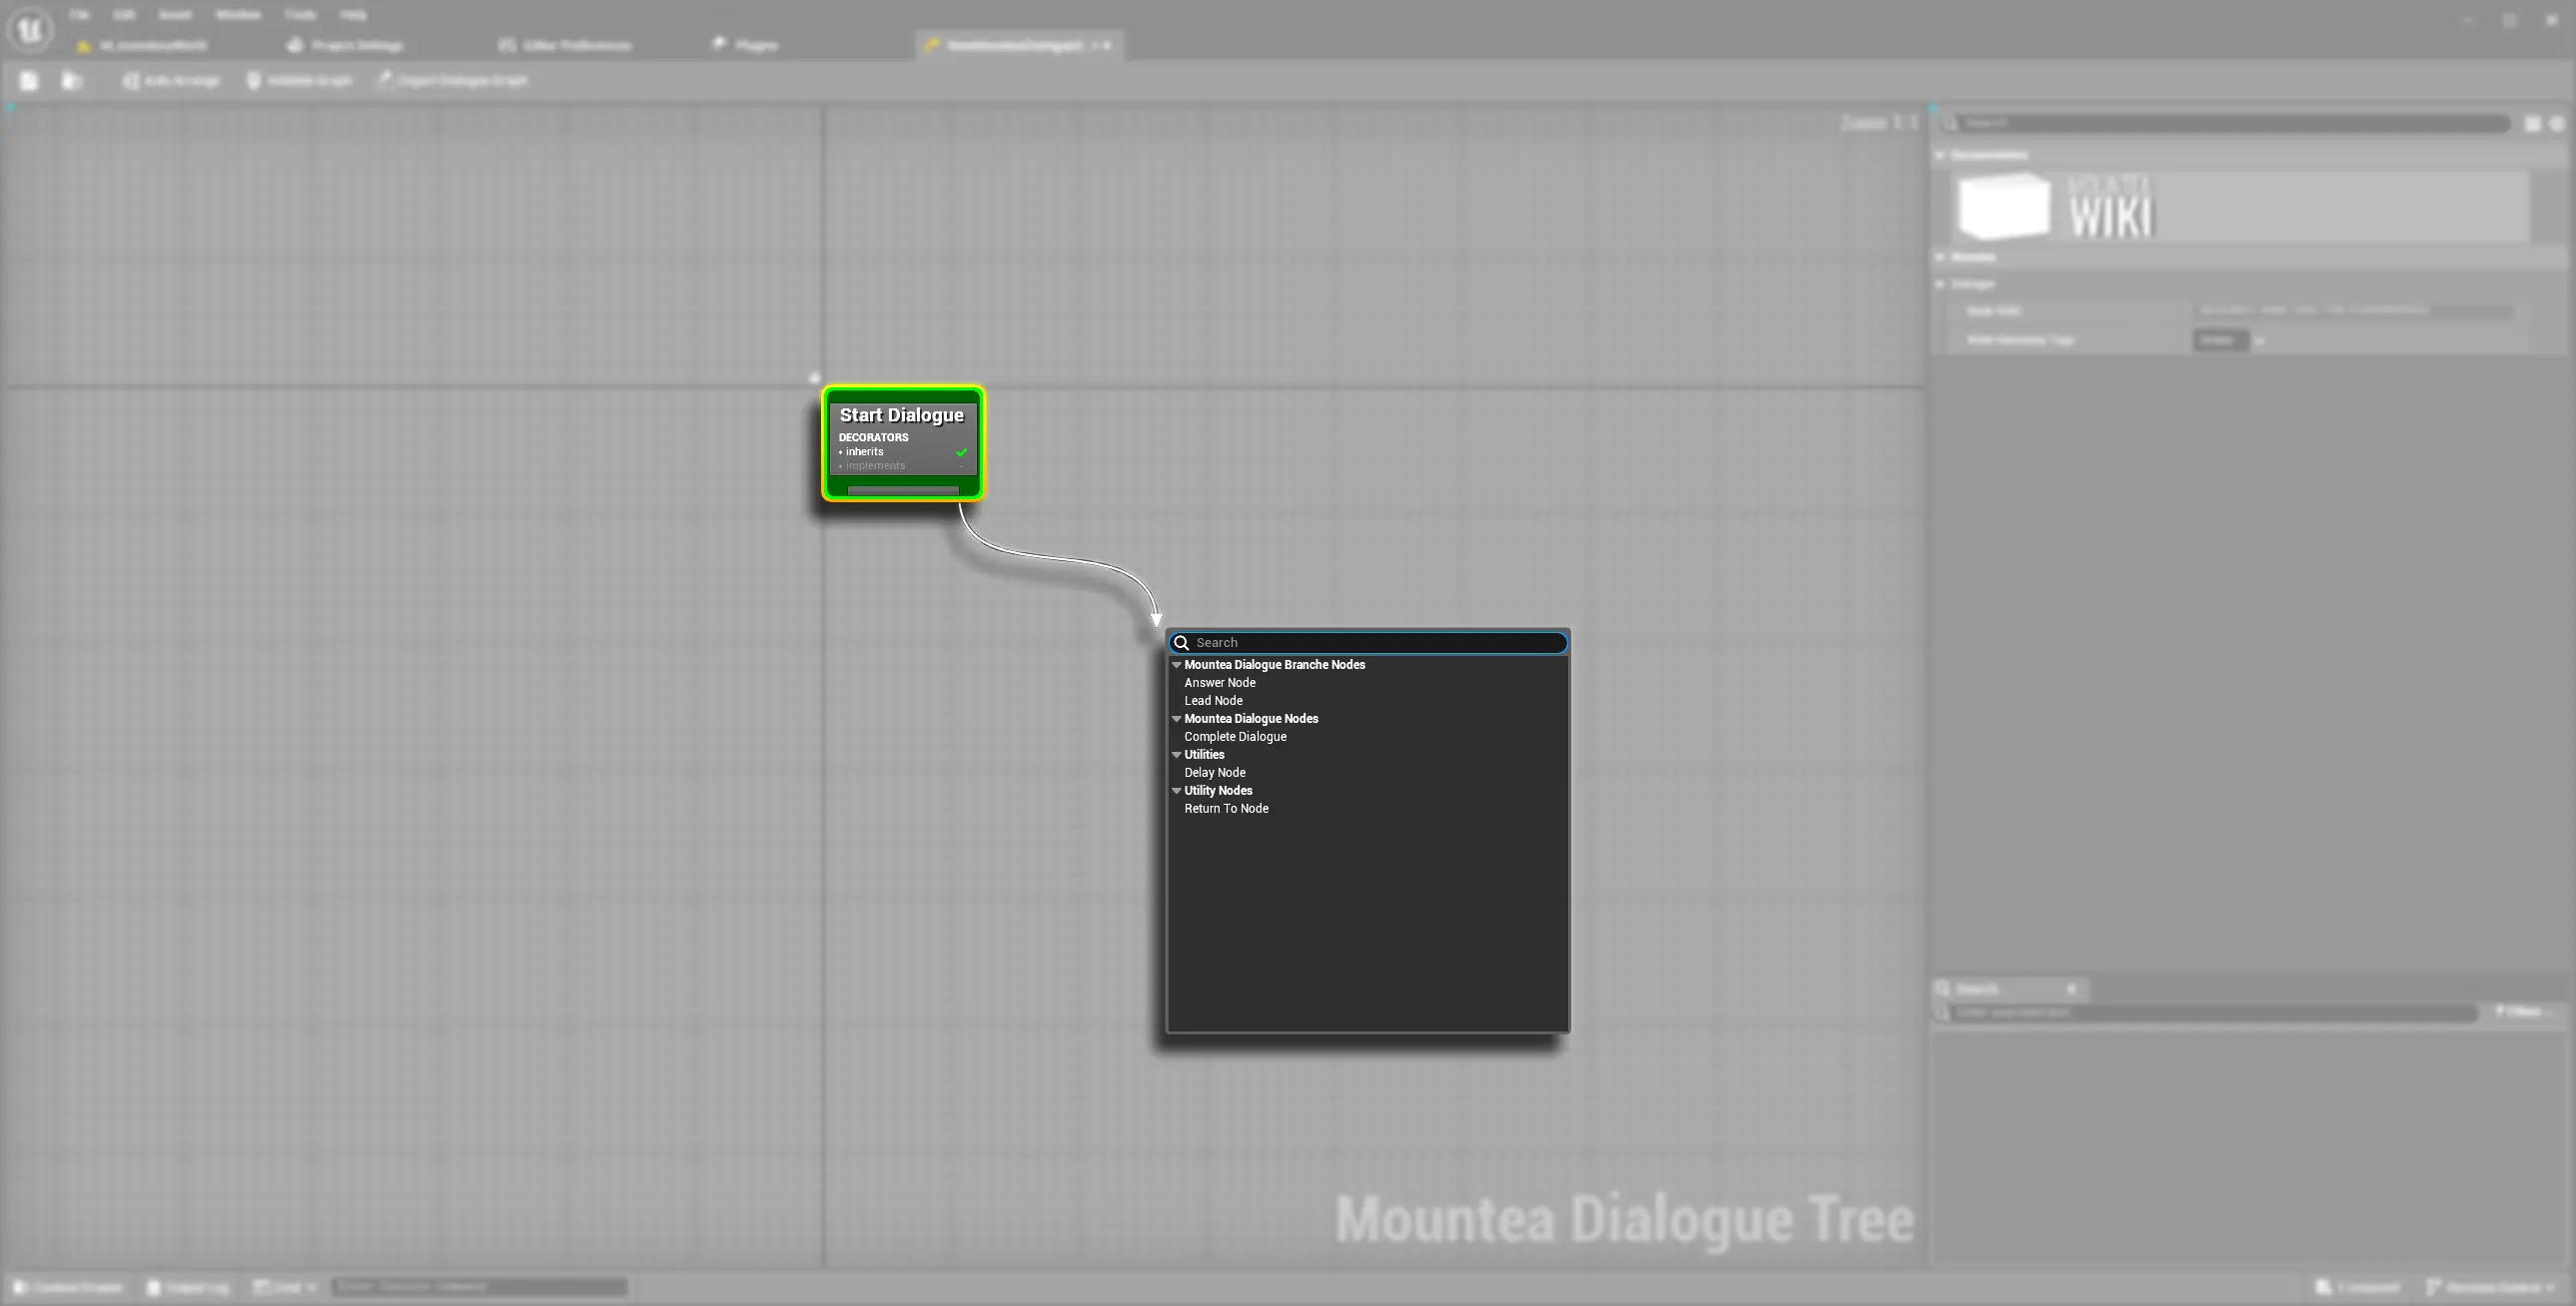
4.3. Connecting Nodes
- Drag from an output pin to another node’s input pin.
- Release to create the link—invalid links show an error tooltip.
4.4. Quick Flow Example
Build a simple greeting with Yes/No choices:
- Start → Lead Node (“NPC: Hello!”)
- Lead → Answer (“Yes”) → Lead (+ NPC reply) → Complete
- Lead → Answer (“No”) → Complete
Save—and expect a validation warning until you bind data!
5. Populate Dialogue Data
Why Use Data Tables?
- Centralized text/audio for localization & reuse
- Keeps your graph clean of hard‑coded strings
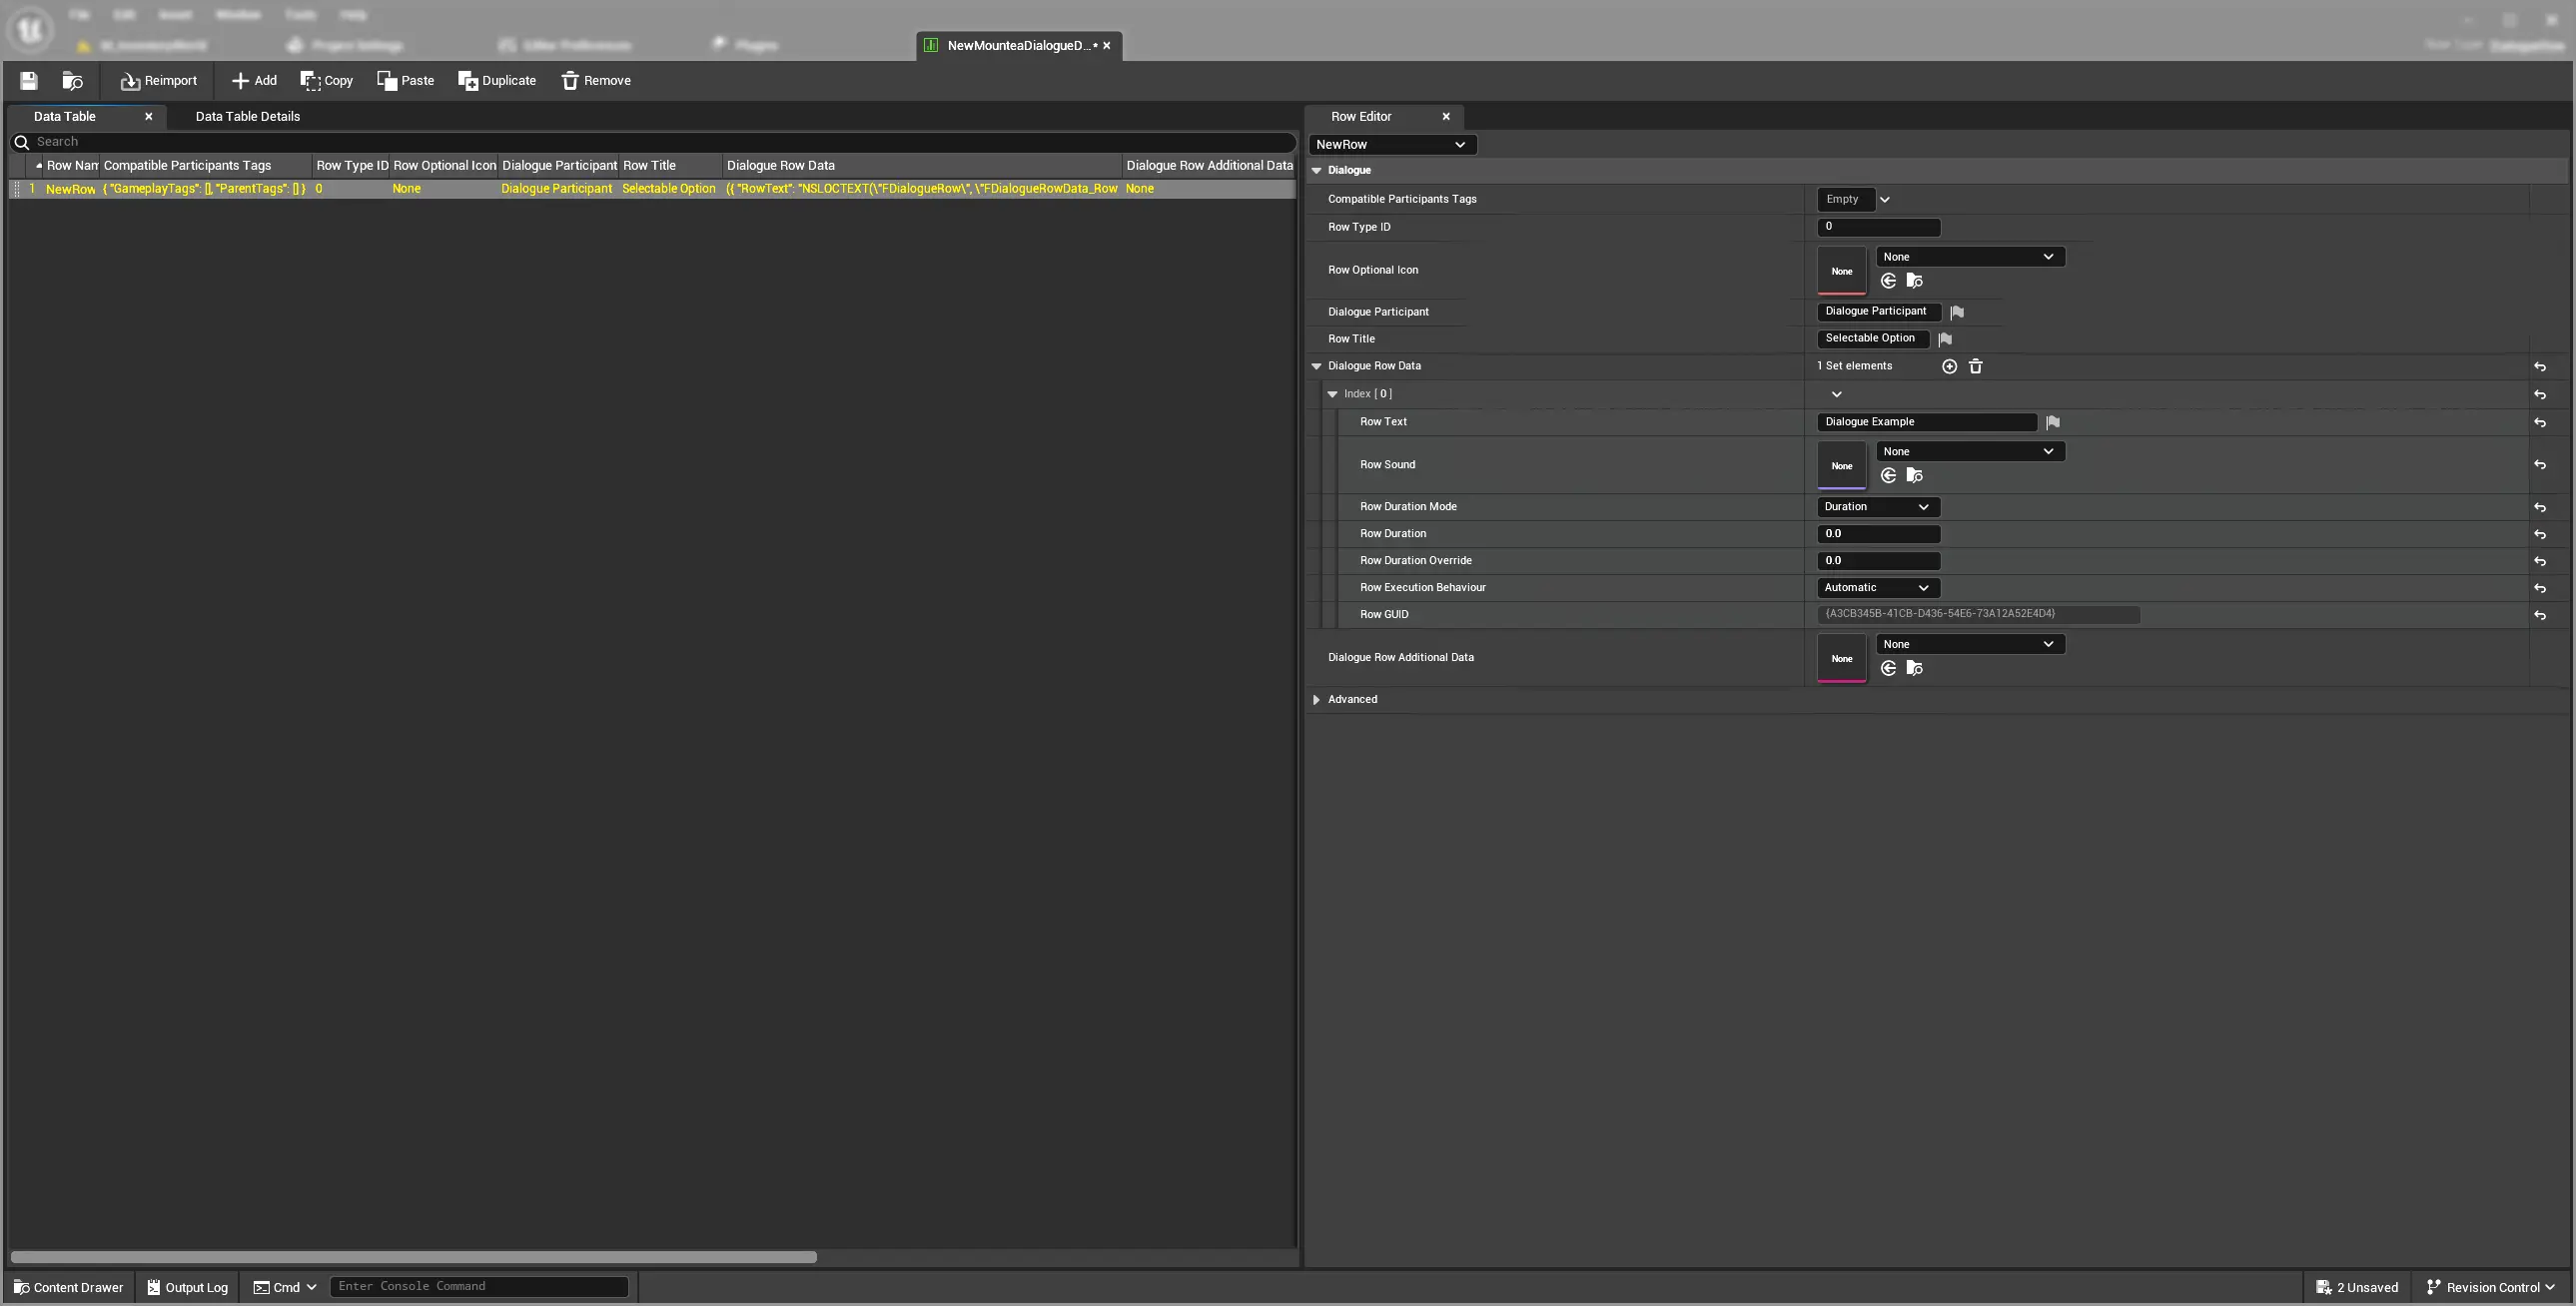
5.1. Create & Fill a Data Table
- Right‑click → Miscellaneous → Data Table.
- Select the DialogueRow struct.
- Add rows with:
- Row Name (identifier)
- Title Text (choice label)
- Dialogue Row Data (text & optional sound)
- Optional Icon or Data Asset
Warning
Renaming a row after use will break any nodes bound to it—plan your IDs carefully.
5.1. Dialogue Data
Dialogue Data is a structure which contains the whole node data. Each Dialogue Data structure is meant to be unique with clear definition who (using Gameplay Tags) can use this data.
Info
Imagine Dialogue Data to be a header of some sort, which only defines the communication between dialogue participants.
| Property Name | Description | Default Value |
|---|---|---|
| Compatible Tags | List of GameplayTags which distinguish participants. Should be unique for each Dialogue Row for the specific speaker. | empty |
| UI Row ID | Optional Row type ID. Could be used to visually differentiate rows which are using same UI Class. | 0 |
| Row Optional Icon | Could be used to mark special dialogue options, like "Open Store" or "Leave conversation" with special icon. | nullptr |
| Dialogue Participant | Name of the Dialogue Participant. If left empty, Dialogue will ignore it and use its default Participant name. | empty |
| Row Title | This should summarize what is this row about, let's say "Accept offering" is a title for "Thank you very much, kind sir, it would be pleasure to join you on your adventure!". | empty |
| Row GUID | Read-only unique Key when searching and binding this Row. | random |
| Dialogue Row Additional Data | Generic Data Asset reference which could hold some more data. Any Data Asset can be used here and no logic is tied to this attribute. | nullptr |
| Dialogue Row Data | List of Dialogue Row Data. Each Dialogue Row can contain multiple of those, where each Data Row represents:
|
empty |
5.2. Dialogue Row Data
Dialogue Row Data is a structure which contains the actual Dialogue body. This is what data is going to be displayed/played on screen.
Info
Image Dialogue Row Data to be a body of the Dialogue interaction. While header defines WHO speaks, this body defines WHAT is said.
| Property Name | Description | Default Value |
|---|---|---|
| Row Text | Multi-line localizable Row Text contains data Players will see in the UI. | empty |
| Row Sound | Sound to be triggered once this Row Data has been displayed in UI. It is expected to be the voice of the Participant. | nullptr |
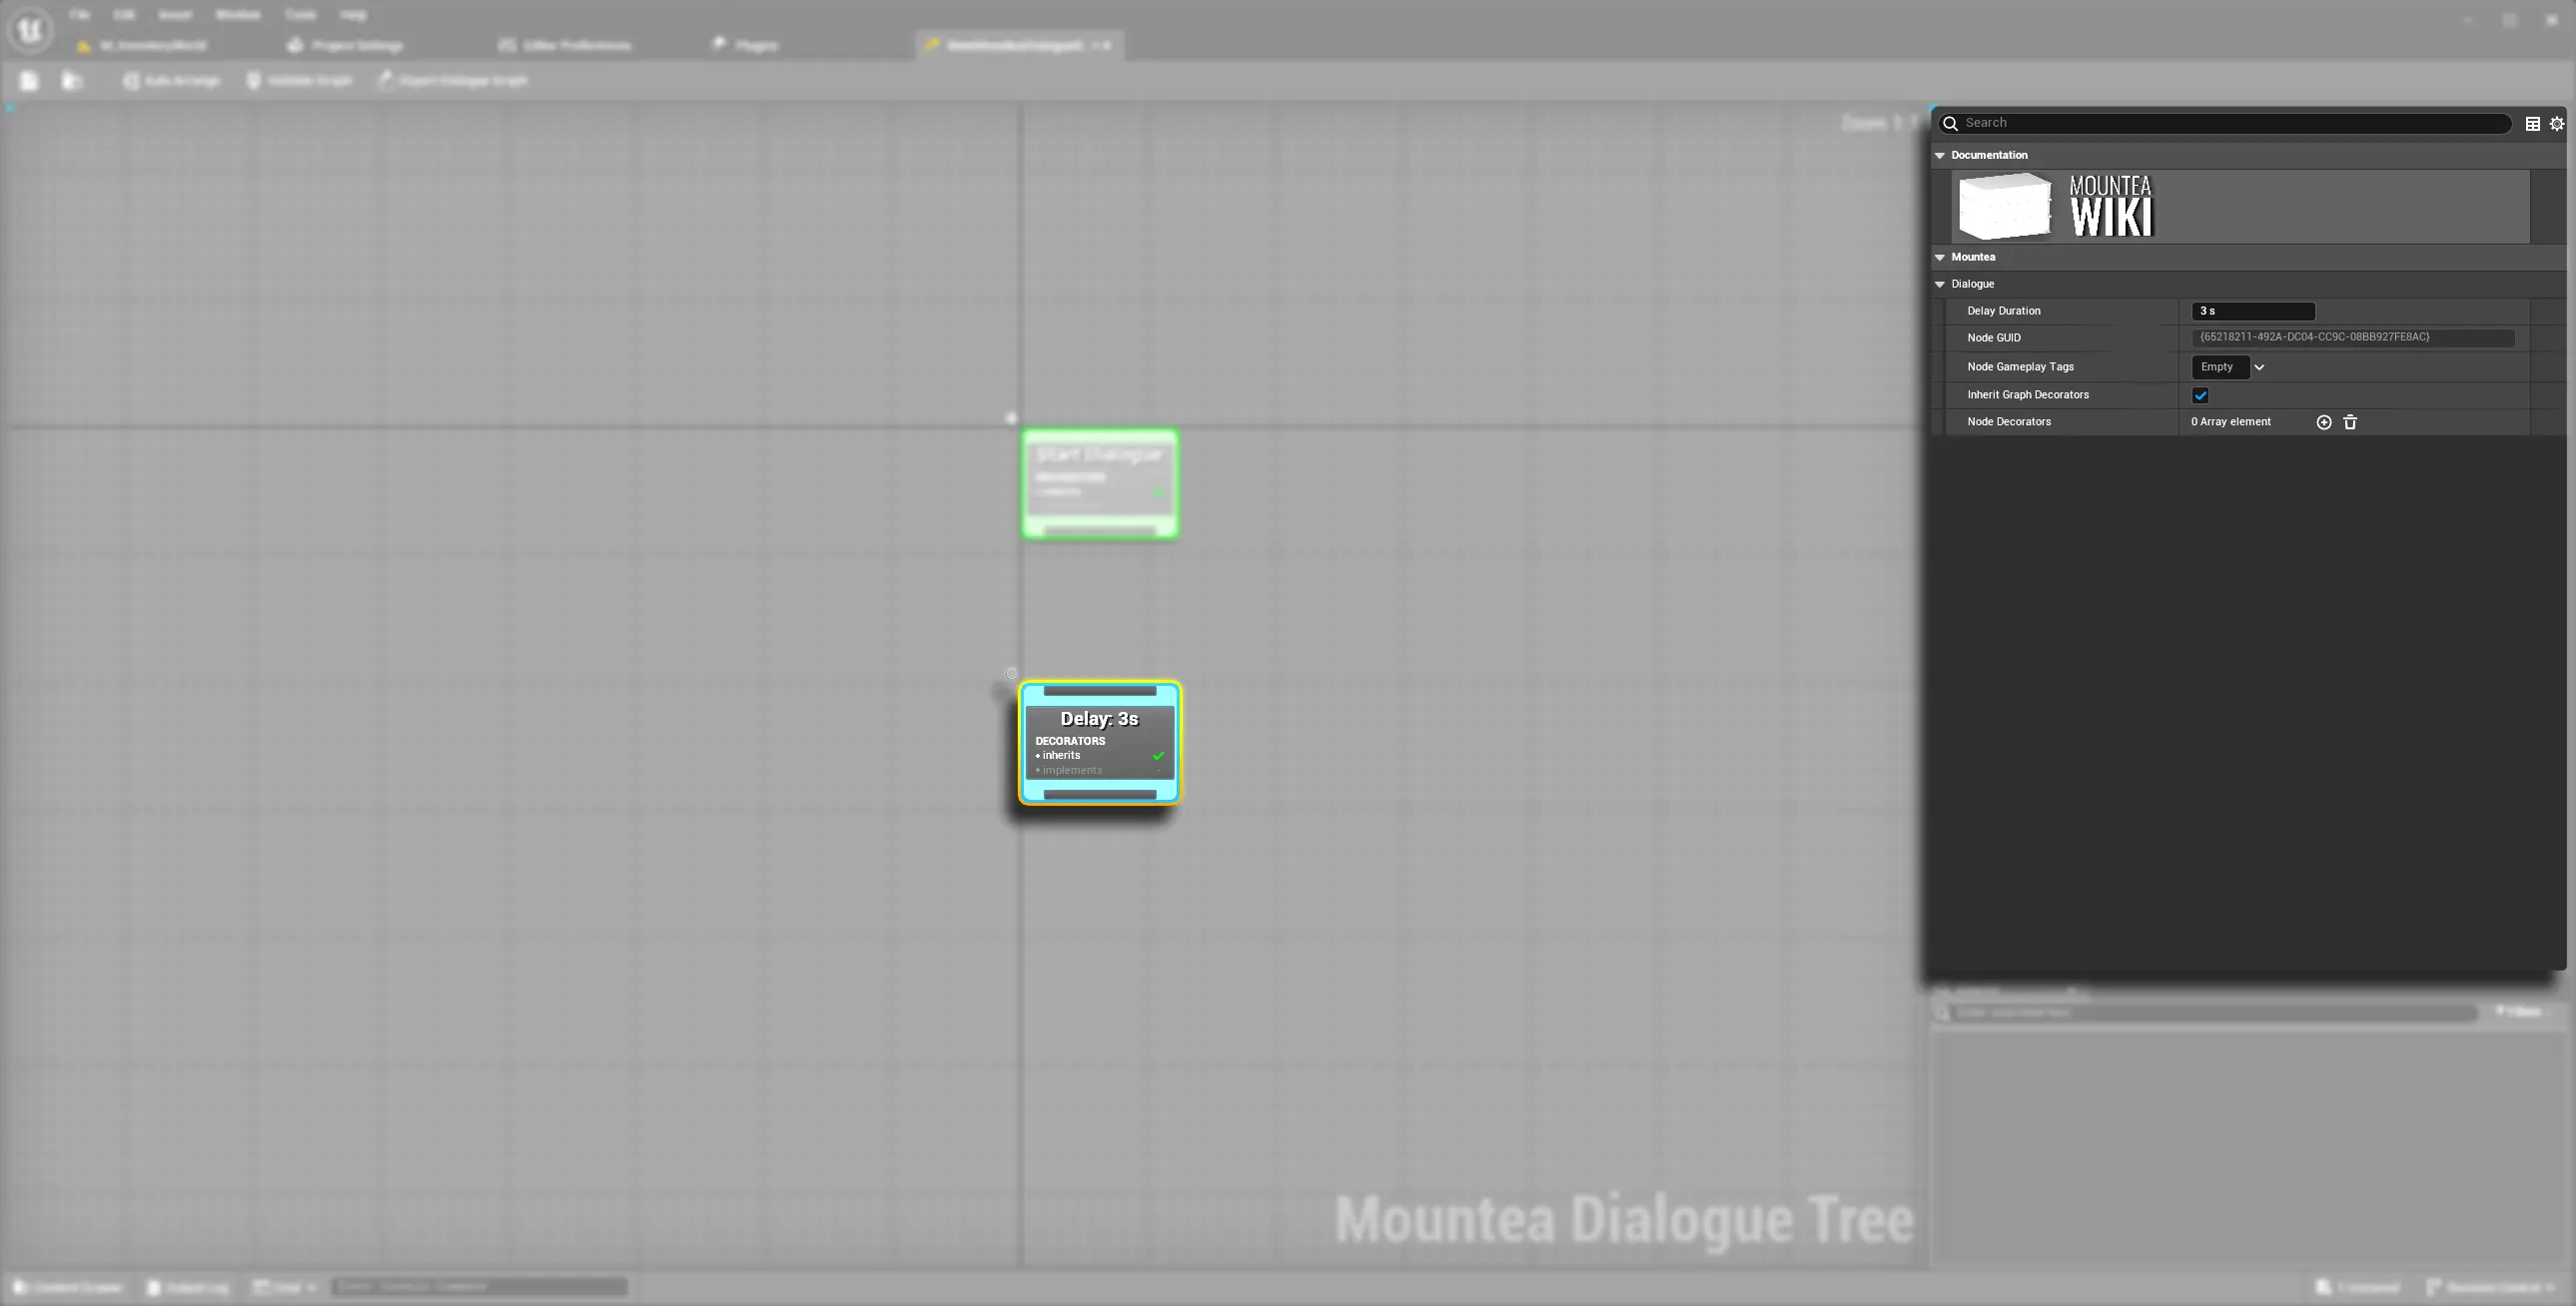
| Row Duration Mode | Determines how the Row Duration is calculated. Values:
|
Duration |
| Row Duration | Determines for how long the UI will display this Row Data. Using seconds as unit. | 0.f |
| Row Duration Override | Determines how much time is added to the Row Duration if any. | 0.f |
| Row Execution Behaviour | If set to true this Row will stop the whole Node execution and next row won't start. Values:
|
Automatic |
| Row GUID | Unique Key when searching and binding this Row. | random |
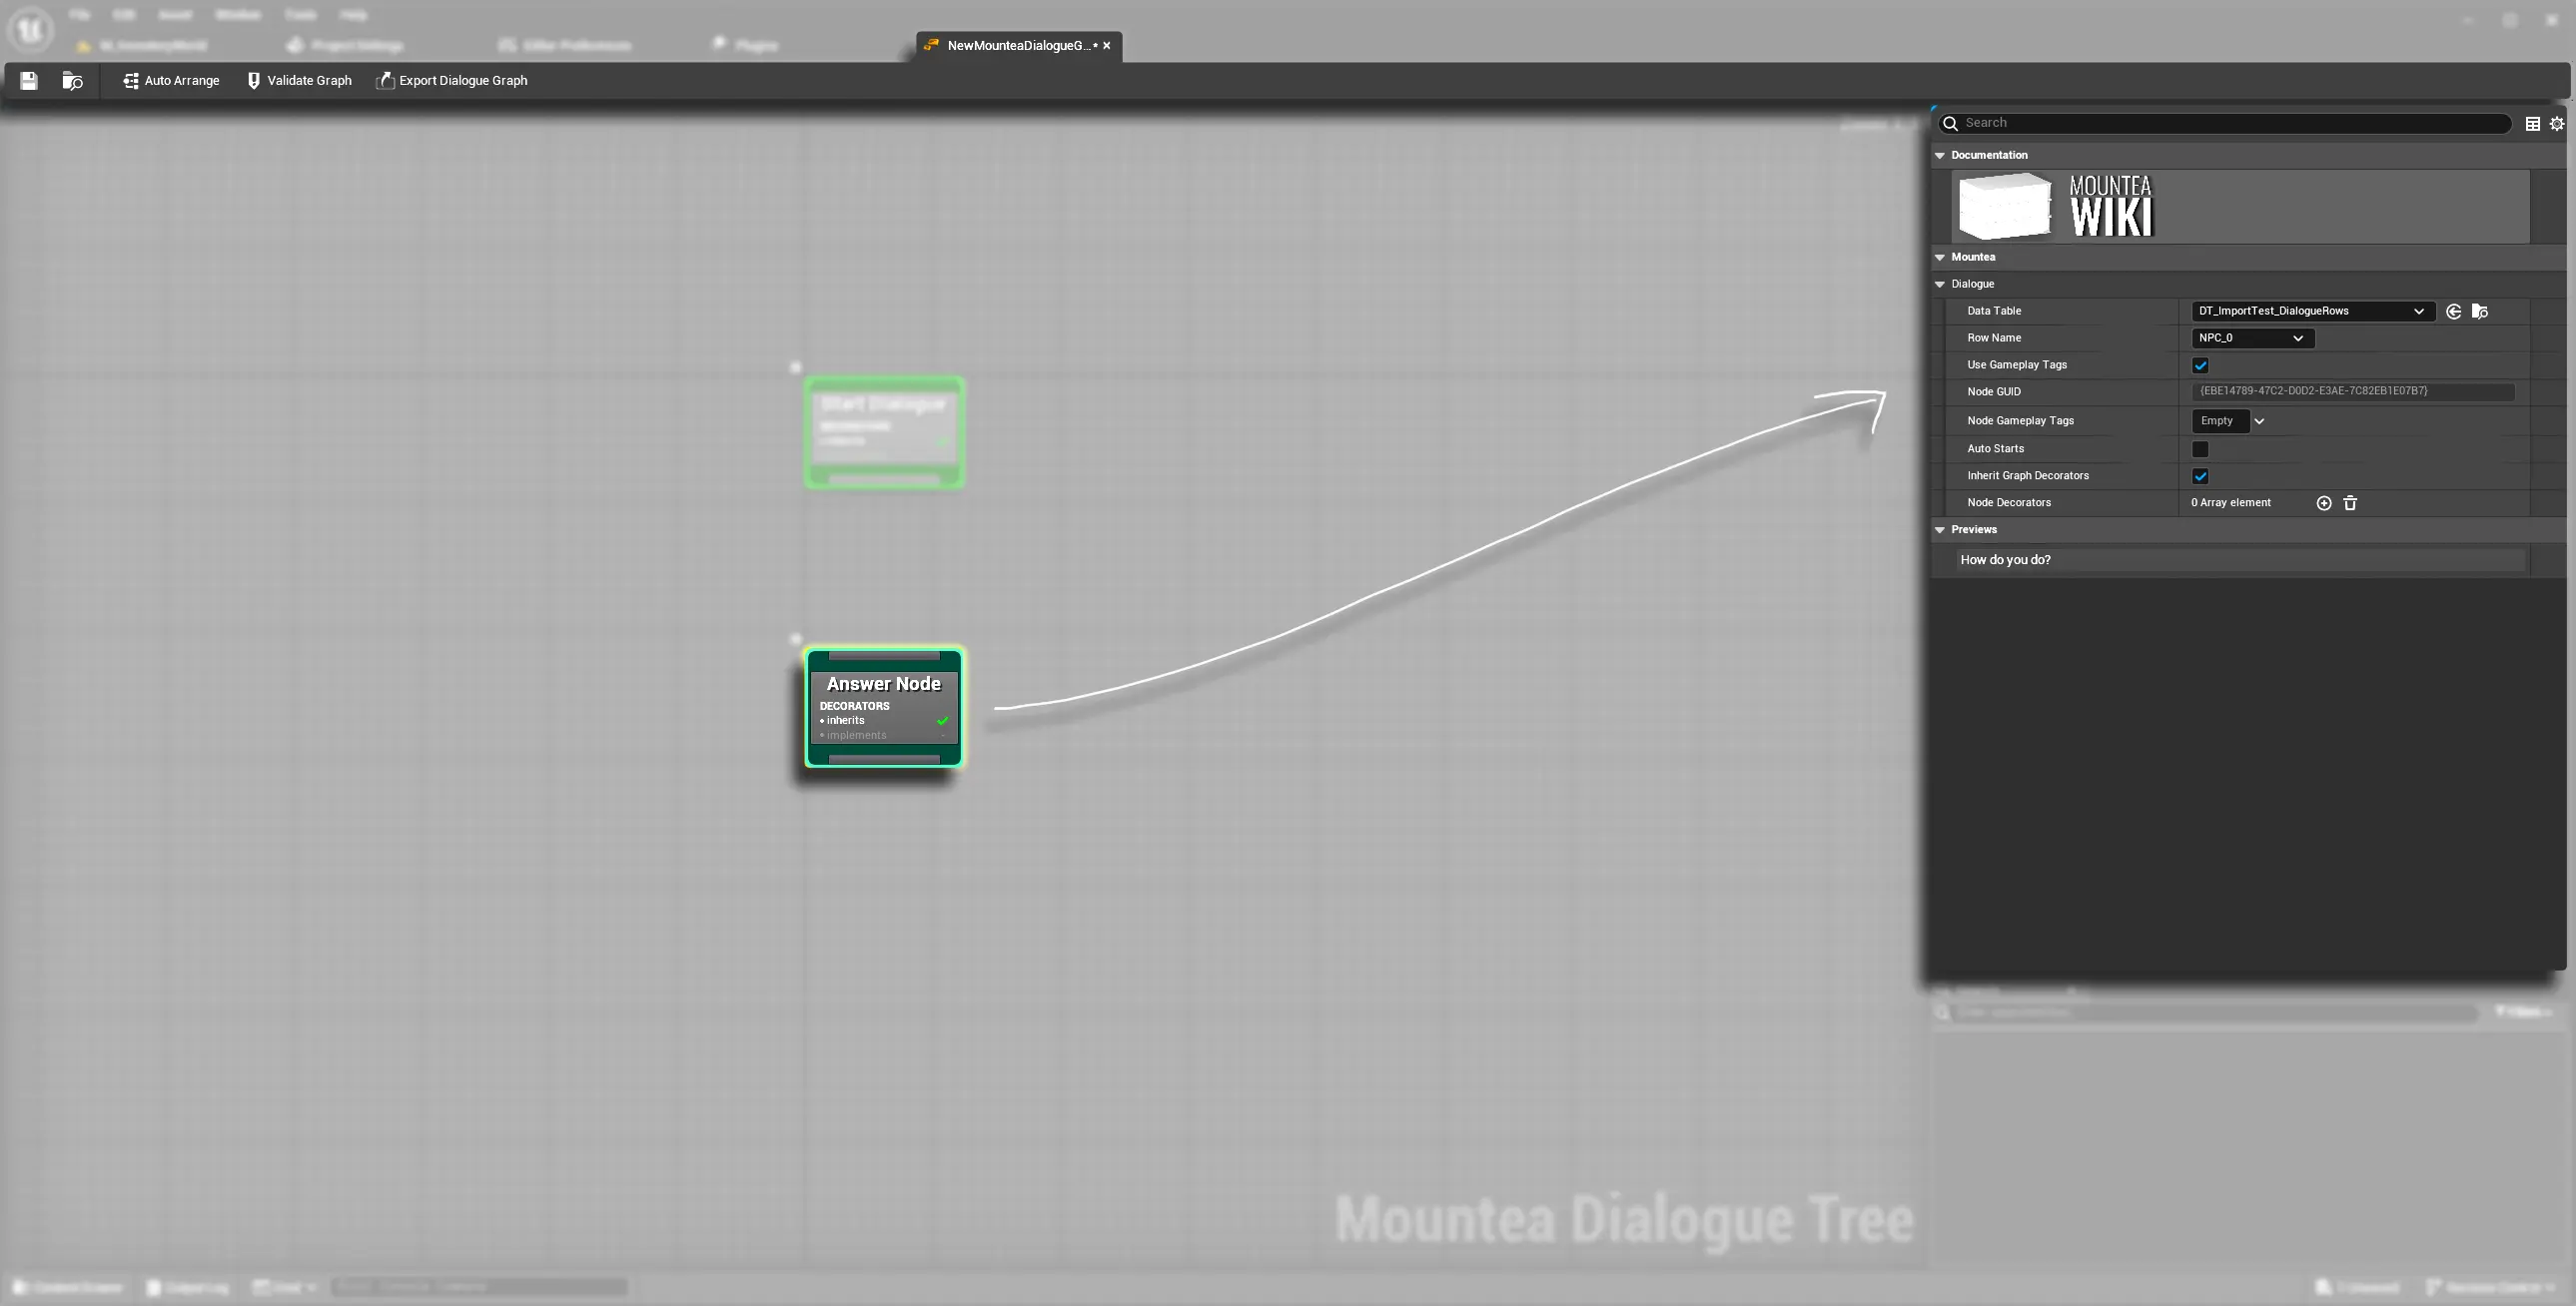
6. Bind Data to Your Nodes
- Select a Lead, Answer, or Complete node.
- In Details → Data Table, pick your table.
- Choose a Row Name—the editor previews text/audio inline.
7. Graph Utilities
7.1. Auto‑Arrange
- Click Auto Arrange in the toolbar to neatly layout your nodes.
Experimental Feature
Auto-arrange is experimental feature which might sometimes freeze the entire Editor.
7.2. Validate Graph
- Click Validate Graph.
- Inspect errors/warnings in the Output Log.
- Format:
{ComponentName}: {ErrorMessage}—fix missing data or broken links.
7.3. Export Graph
- Click Export Dialogue Graph.
- Select destination to save the files to.
- Exported file should have the same name as your graph with
mnteadlgextension.
Import & Export
Mountea Dialogue provides a way to import/export Graphs. We also provide online dialogue editor Mountea Dialoguer.
8. Common Pitfalls
Common Issues
No Preview?
- Ensure your Data Table uses the correct struct (
DialogueRow).
Broken Links?
- Check for renamed nodes or rows.
Validation Errors
- Always point to missing data or improper connections—address them before playtesting.