First Steps
This page guides you through the initial setup of the Inventory & Equipment system.
The goal is to get everything connected and working using the default configuration assets that come with the plugin.
No customization yet. Just a clean, correct baseline.
Open Inventory & Equipment Settings
All configuration starts in one place – the Inventory & Equipment Settings page.
Designer mindset
You are not editing files directly.
You are choosing which configurations the system should use.
Open the settings using the toolbar shortcut. You can find all config files in the plugin folder.
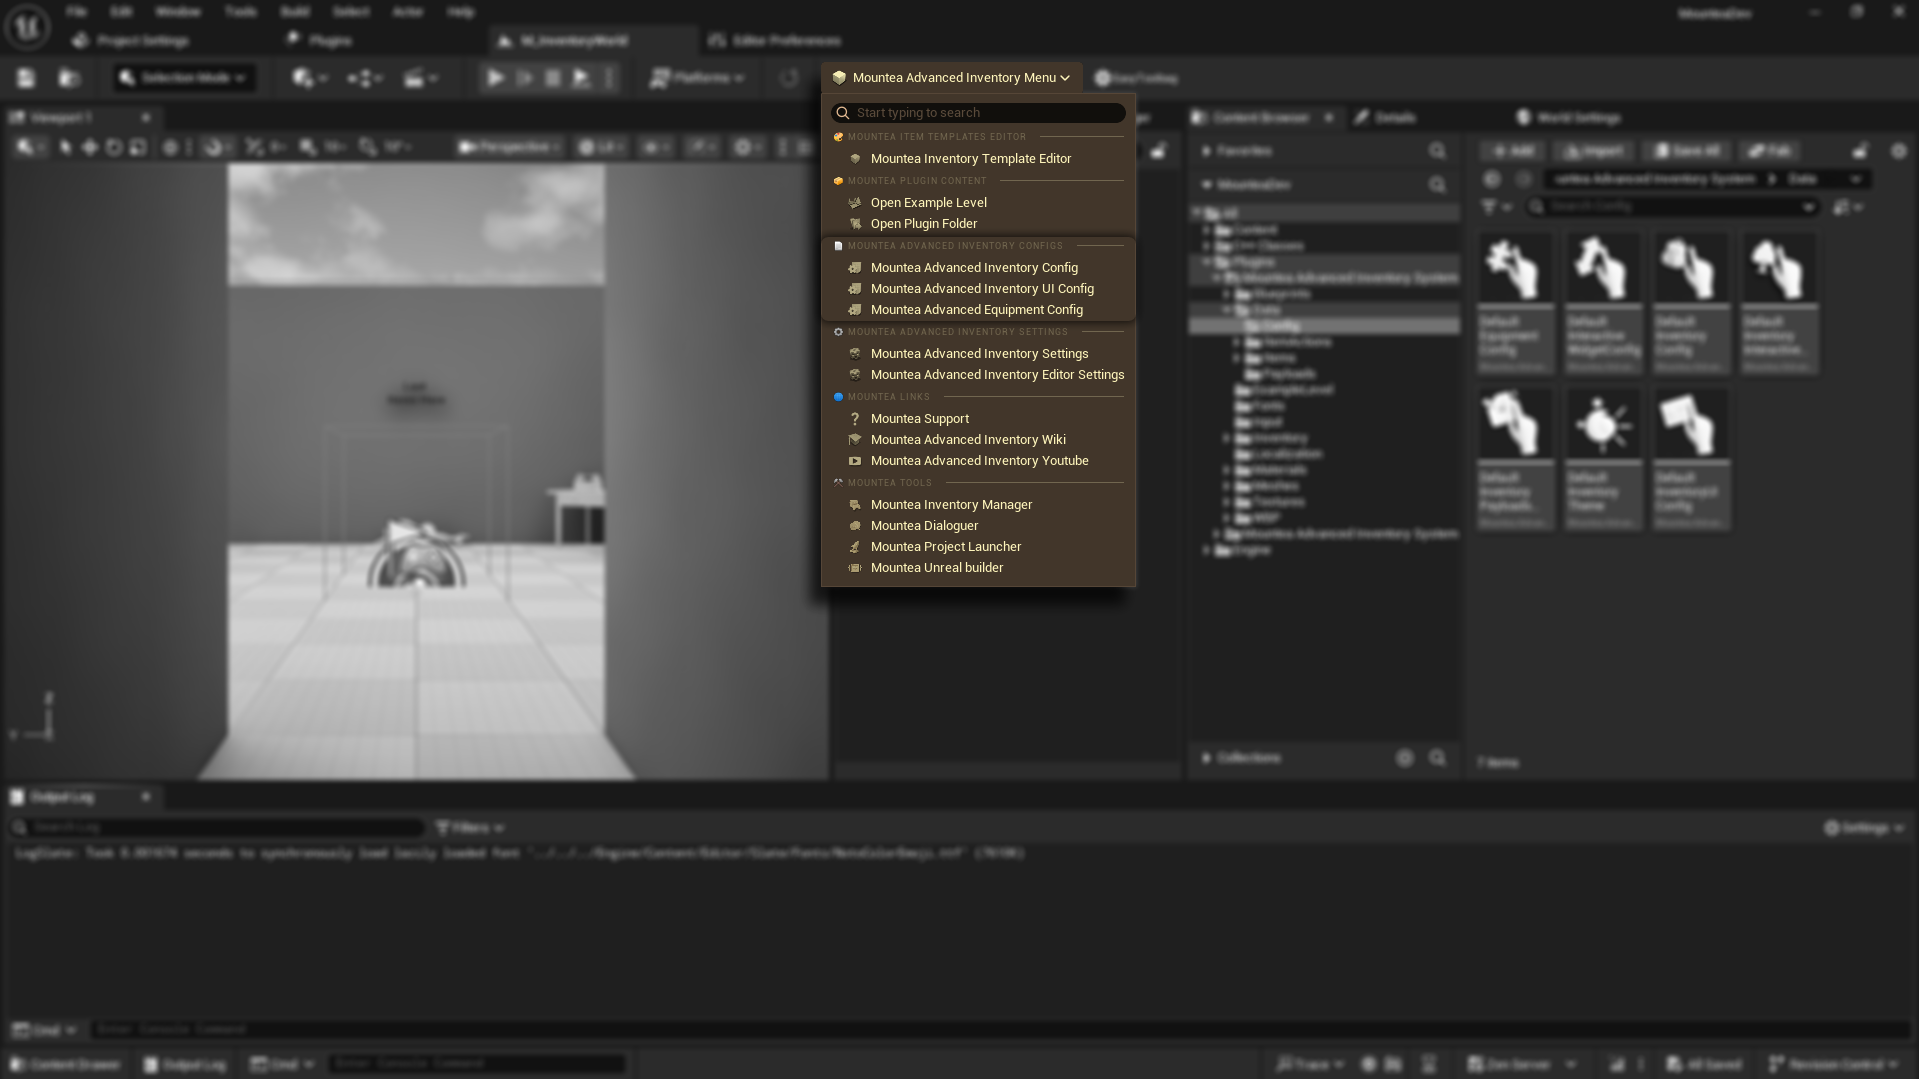
This page acts as a central hub.
It does not contain all configuration itself – instead, it references the configuration assets used by the system.
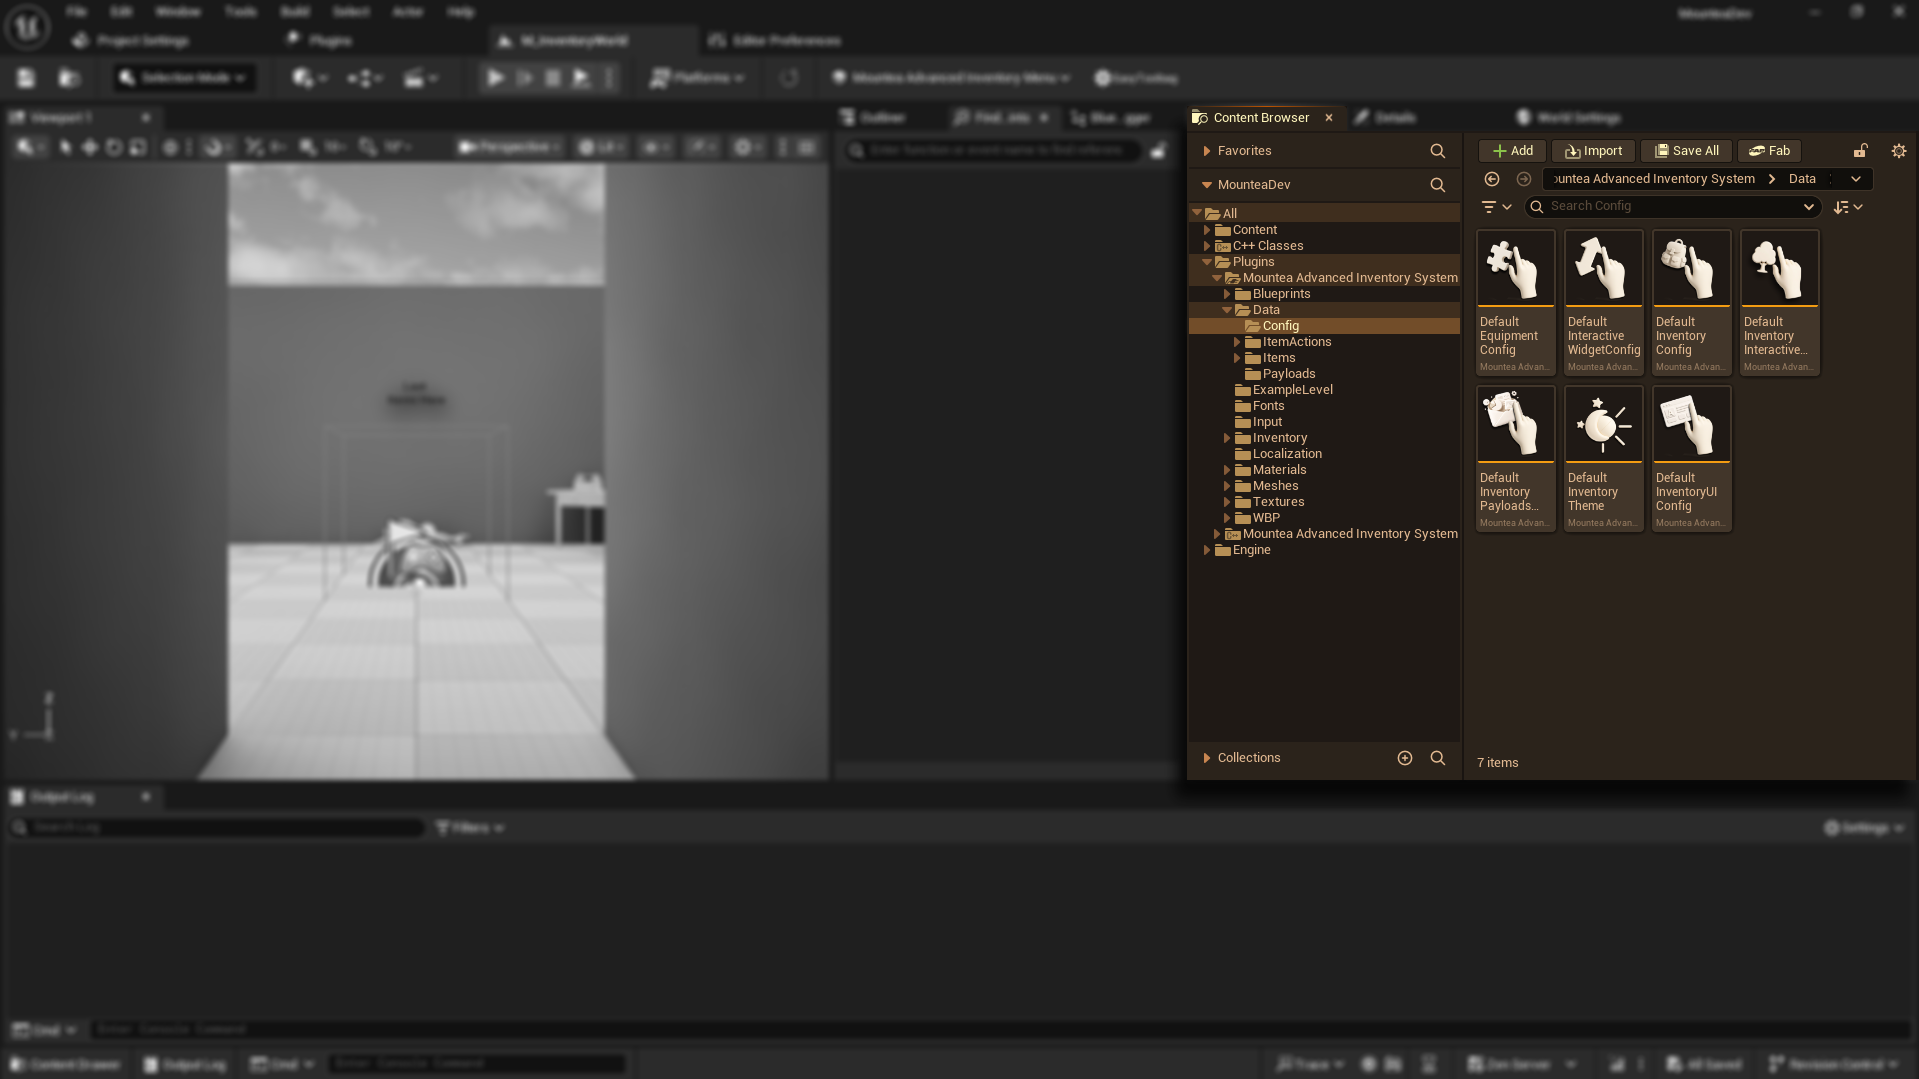
Assign Default Configuration Assets
The plugin ships with a complete set of default configuration assets.
Assign the provided default assets to all visible configuration fields.
Once all defaults are assigned, the system is properly wired.
Start from defaults
These assets are designed to work together out of the box.
Use them before creating any custom variants.
Incomplete setup
If any configuration field is left unassigned, parts of the system will not work correctly.
Use the Toolbar Shortcuts
The settings page includes a toolbar with shortcuts to each major configuration asset.
Fast iteration
These shortcuts exist so designers do not need to browse folders or remember asset paths.
Each toolbar button opens its related configuration asset directly.
Verify Everything Is Connected
Before customizing anything, do a quick sanity check.
Baseline check
At this stage, you are confirming connections – not tuning values.
Make sure that:
- Configuration assets open without errors
- Inventory UI can be previewed
- Equipment slots are visible
If this works, your setup is correct.